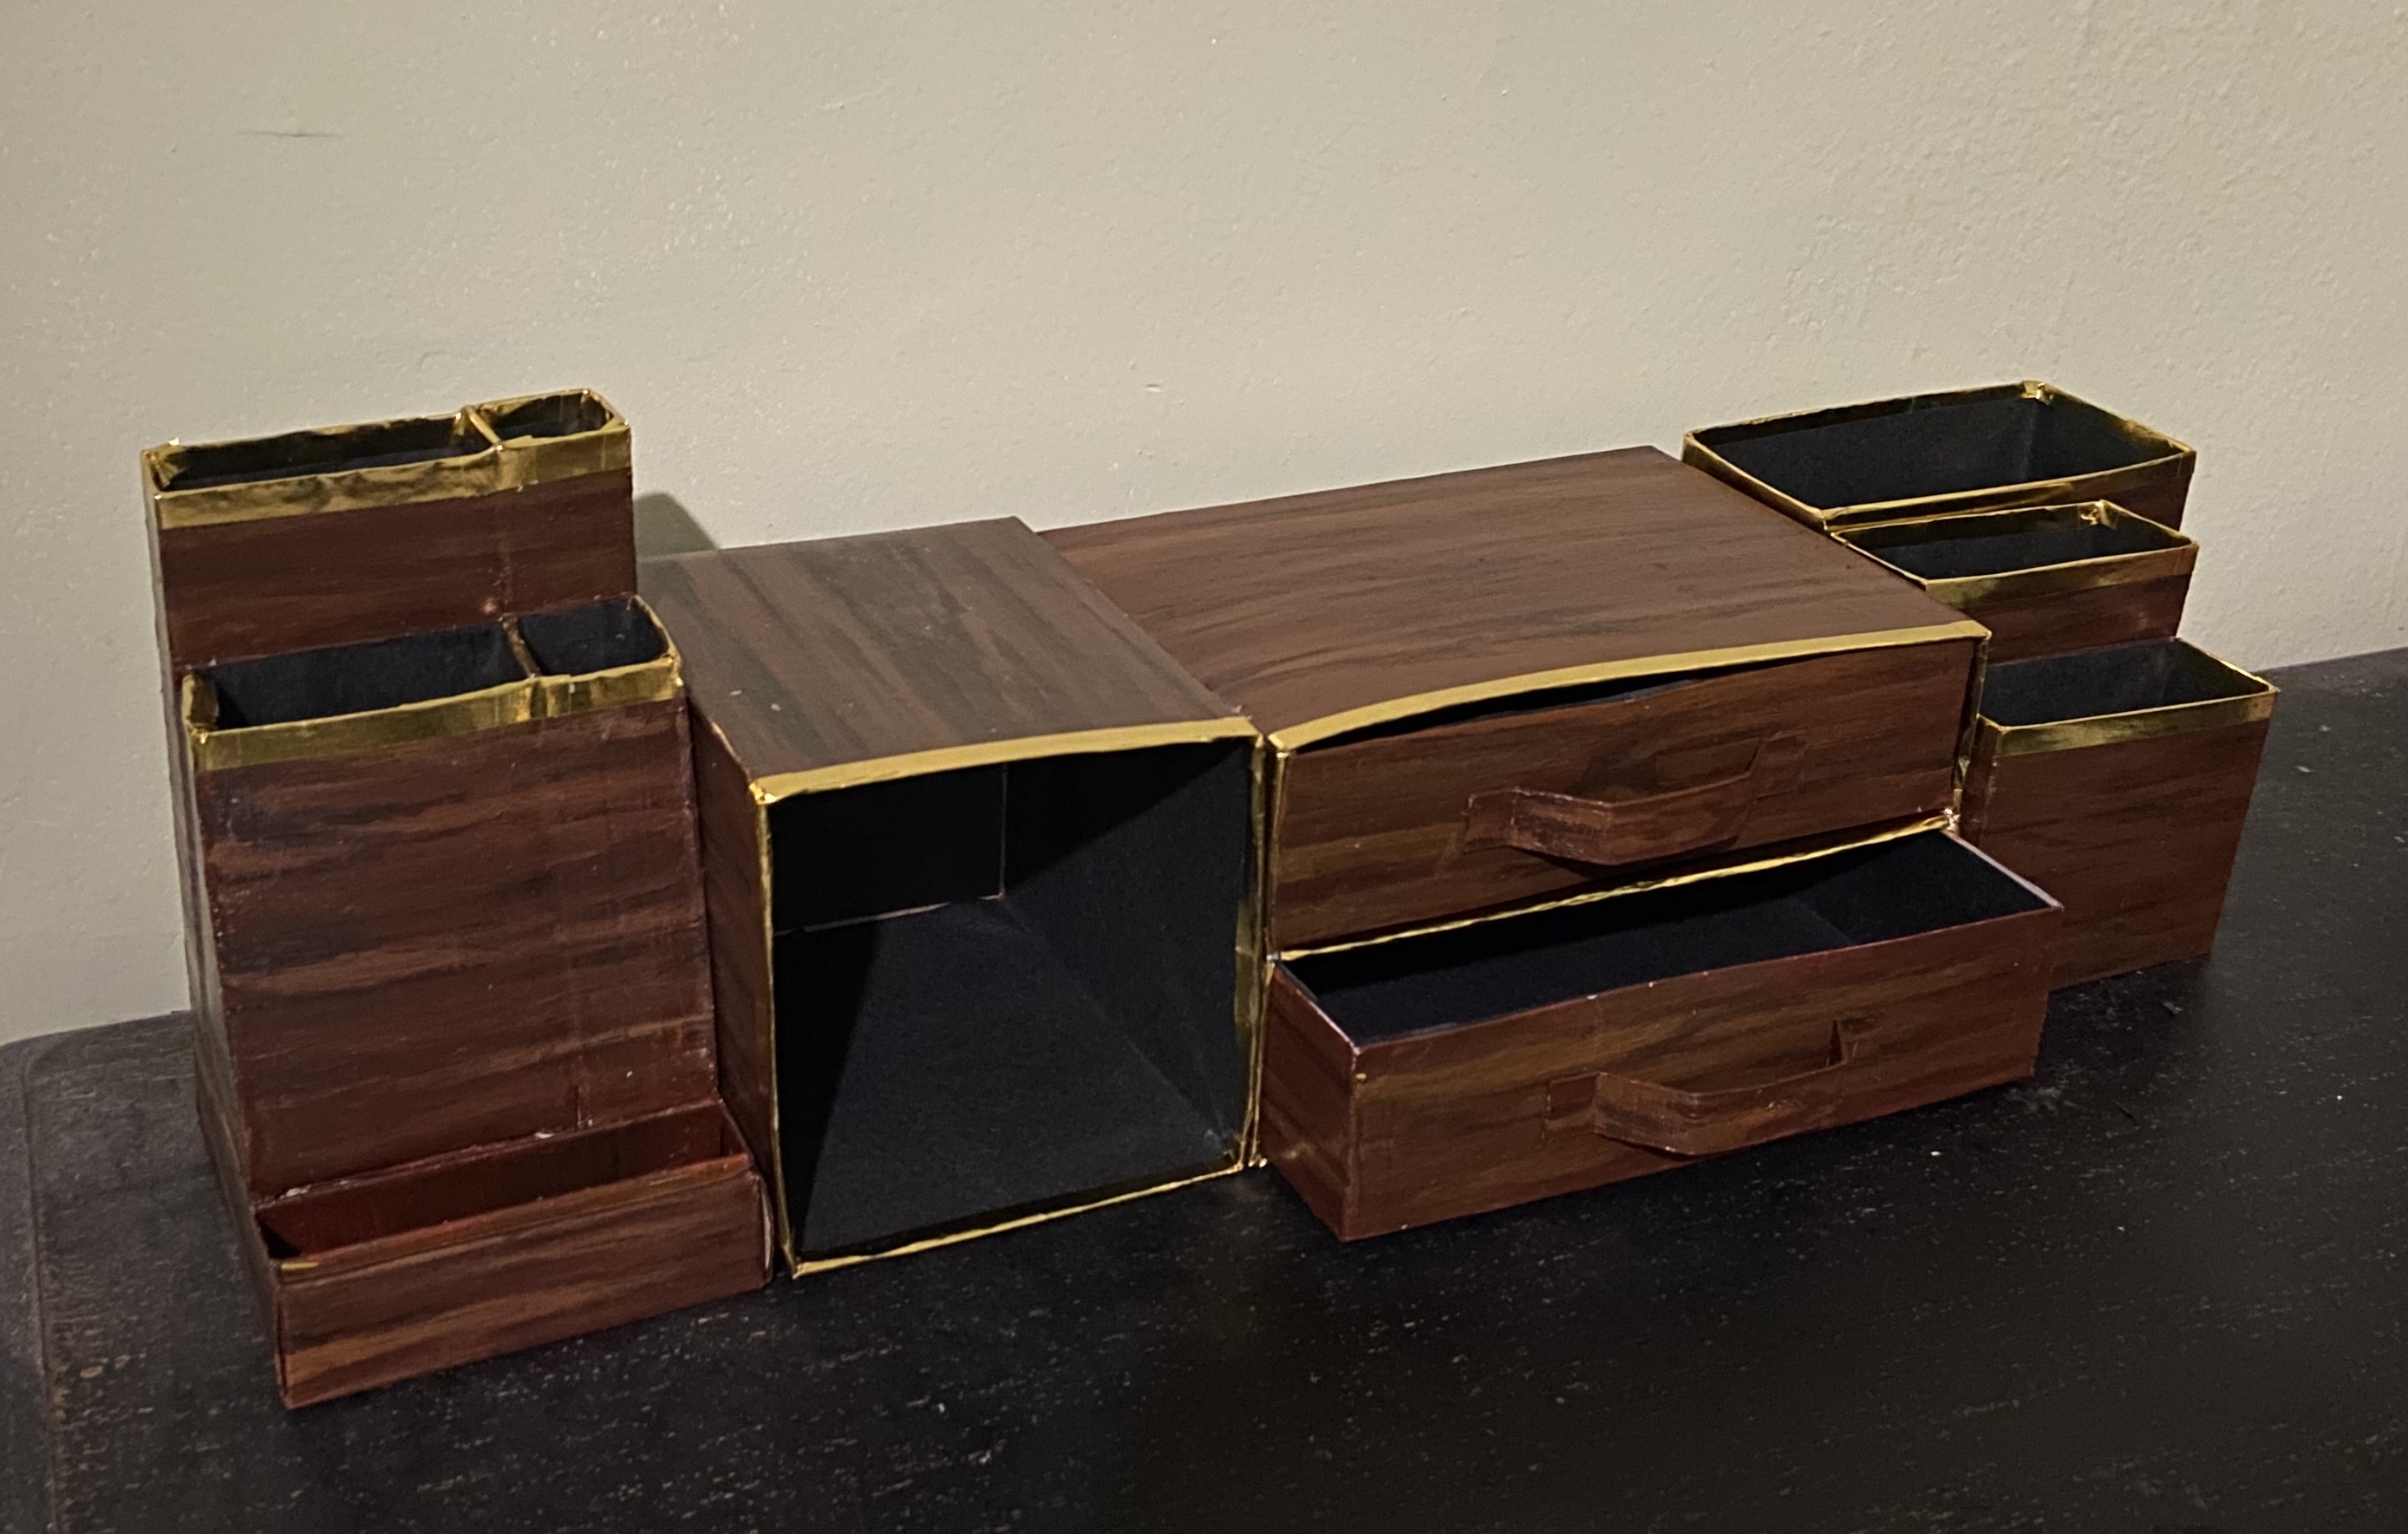
Desk Organizer
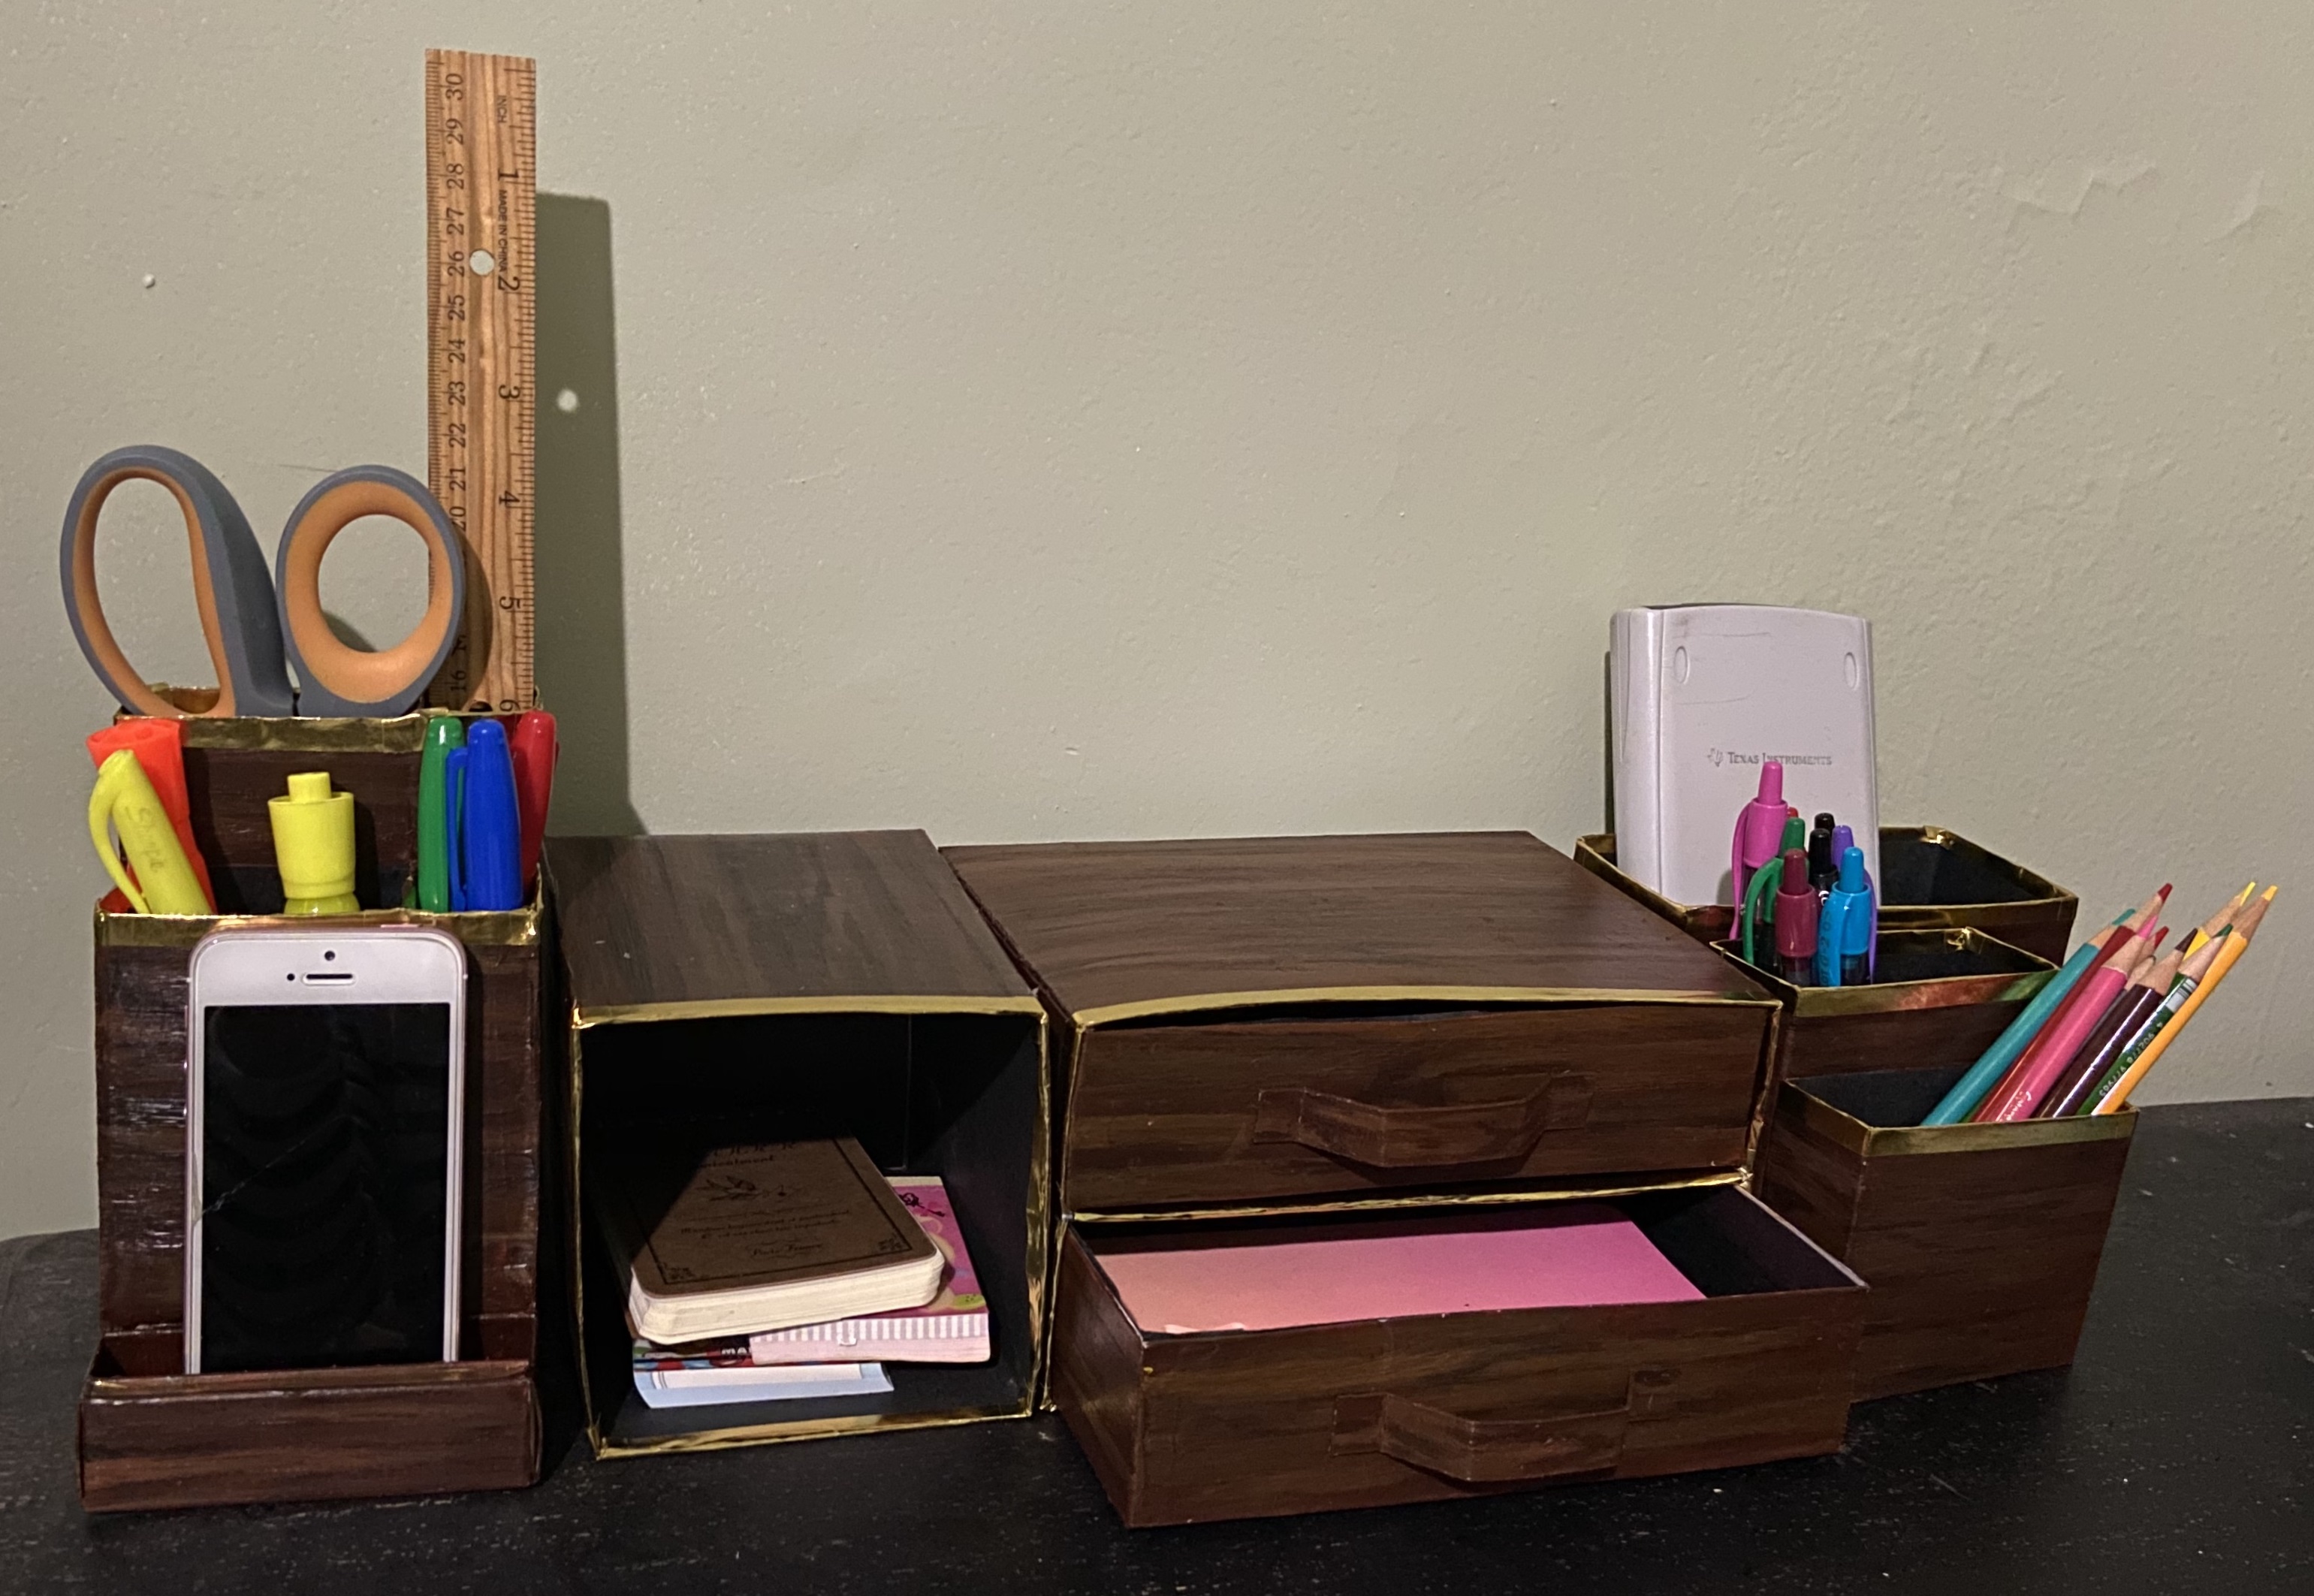
The project was to create a desk organizer out of materials available at home.
Materials Used:
• Cardboard boxes
• Tape
• Acrylic paint
To begin, I had to see what materials I had. I ended up using all cardboard boxes, because they were easy to cut and tape according to the size I needed.
The first step was to cut cardboard boxes into my desired sizes and shapes. Choosing a design was a difficult process. I knew I wanted to create a drawer, so I used boxes I had two each of for that portion. The rest of the design was determined along the way, mostly by discovering what boxes fit well with each other and using the remaining scrap to create another part.
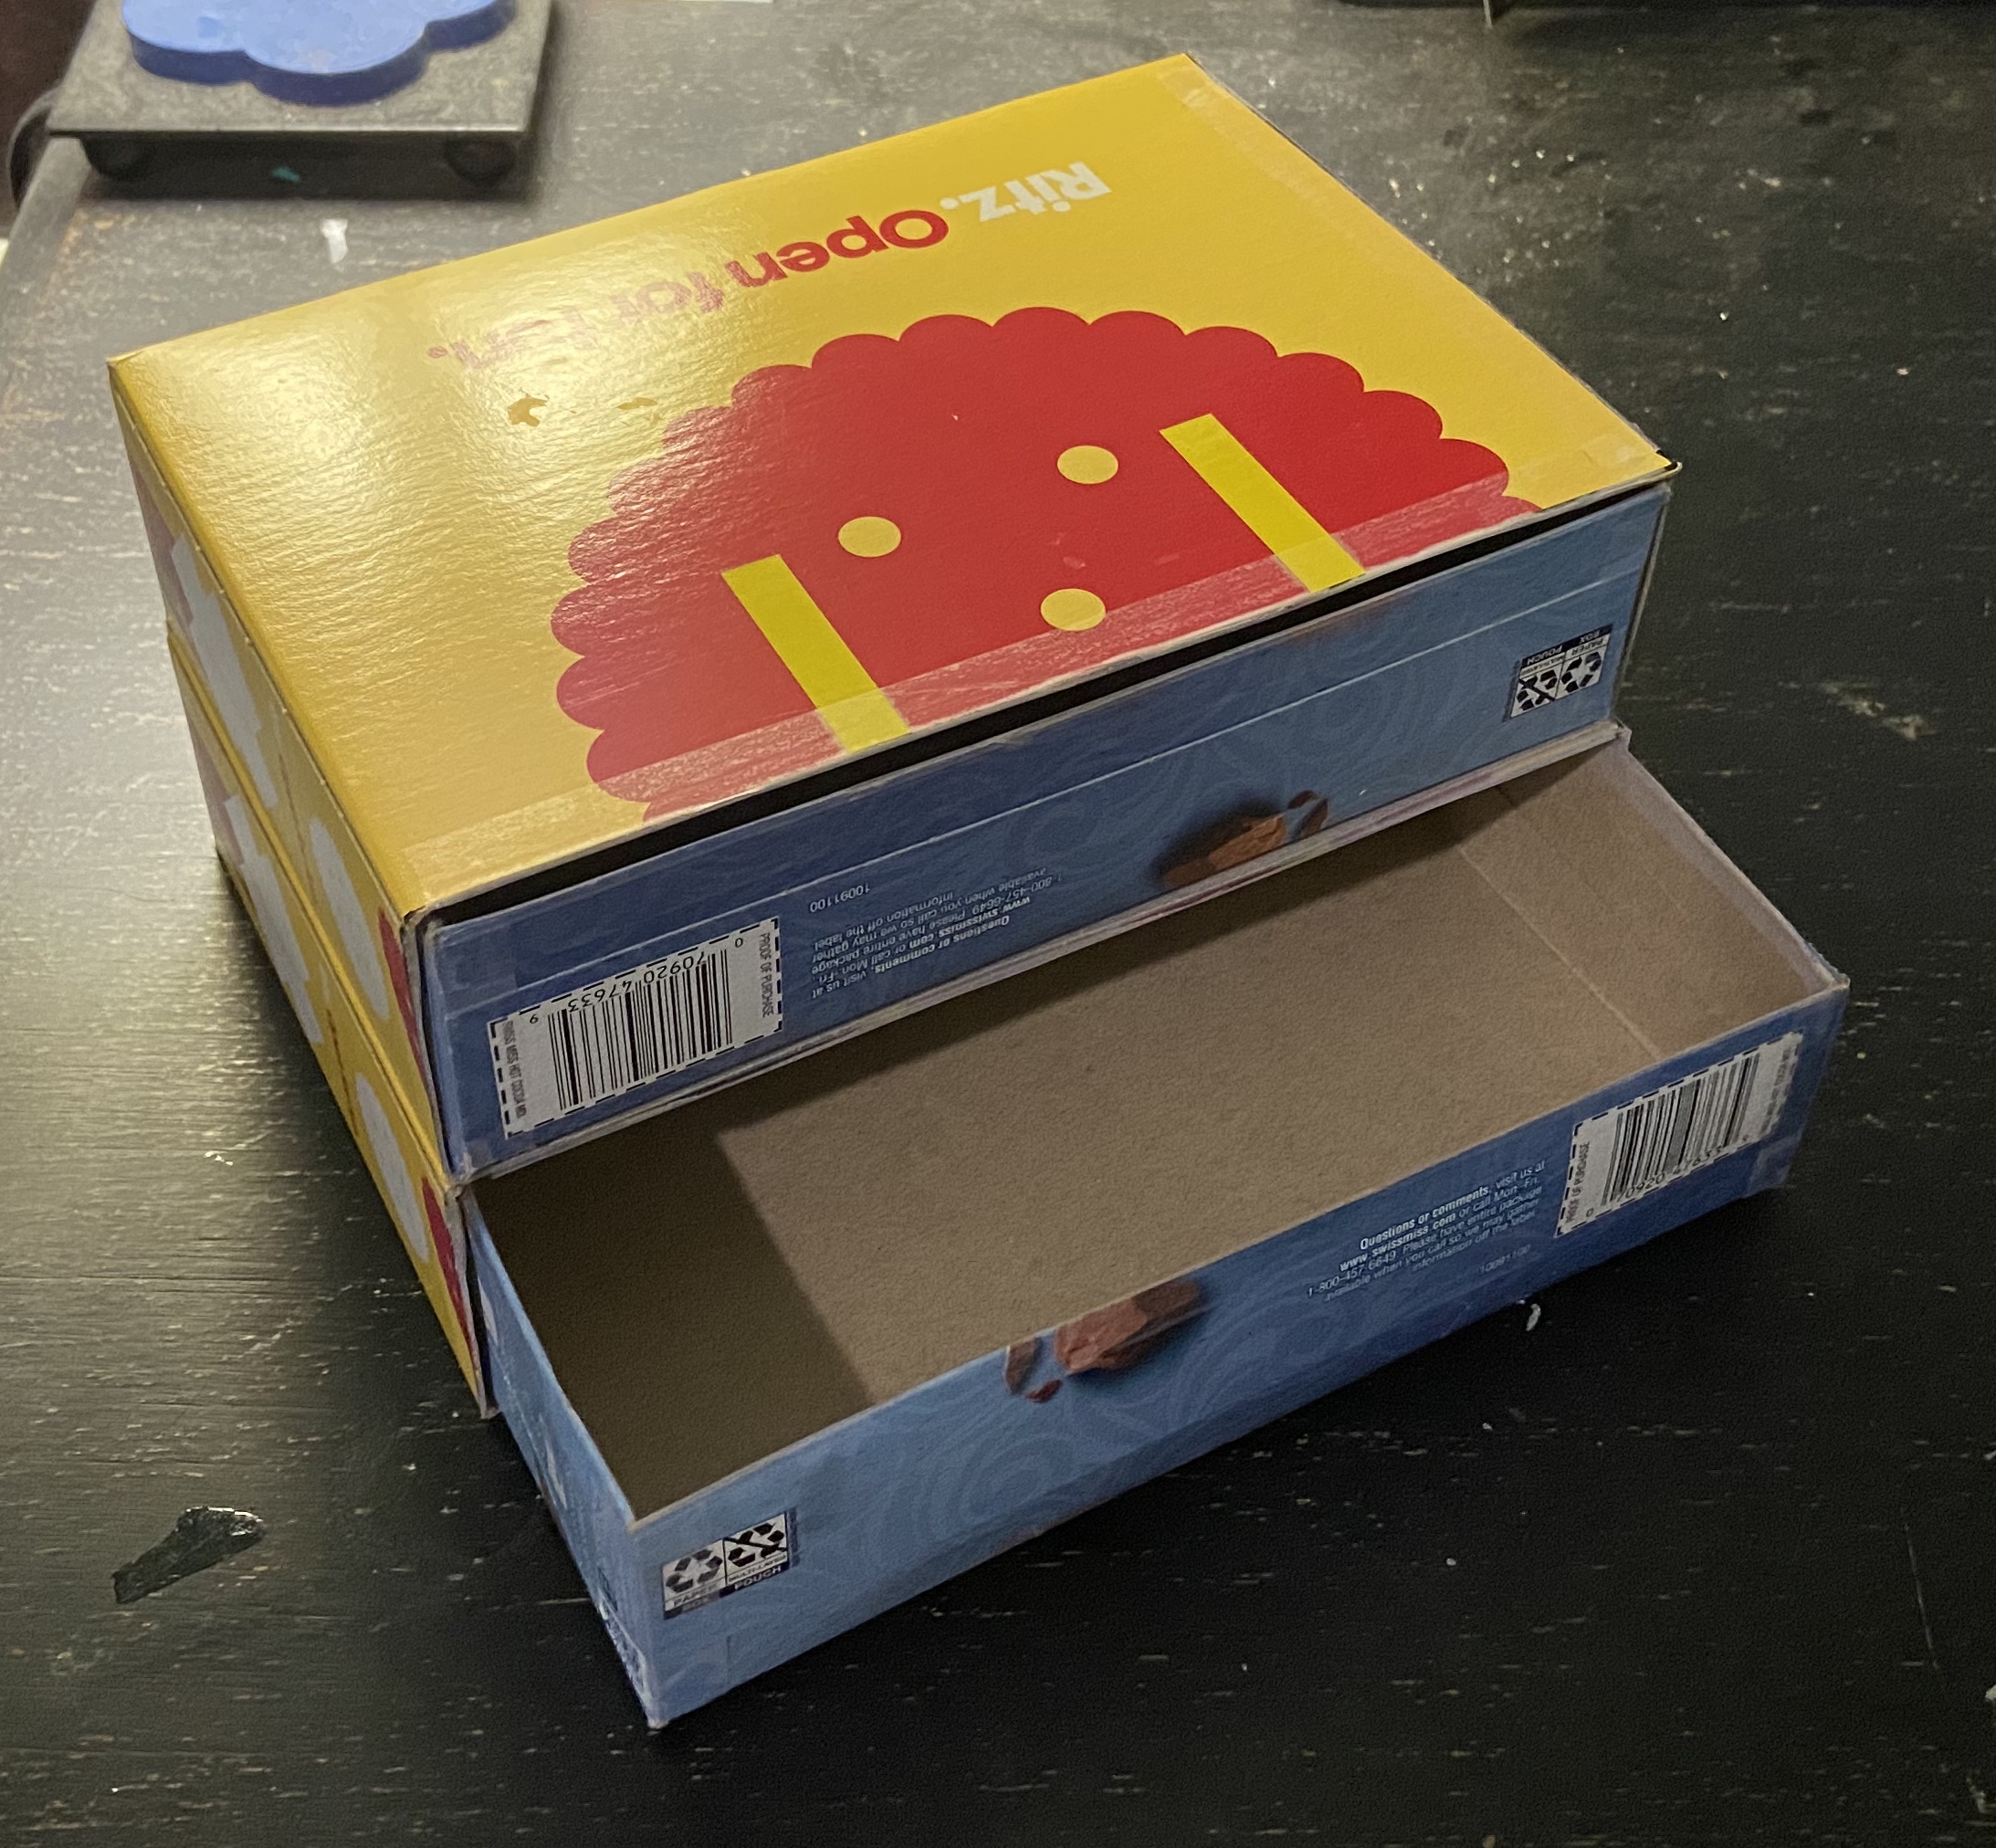
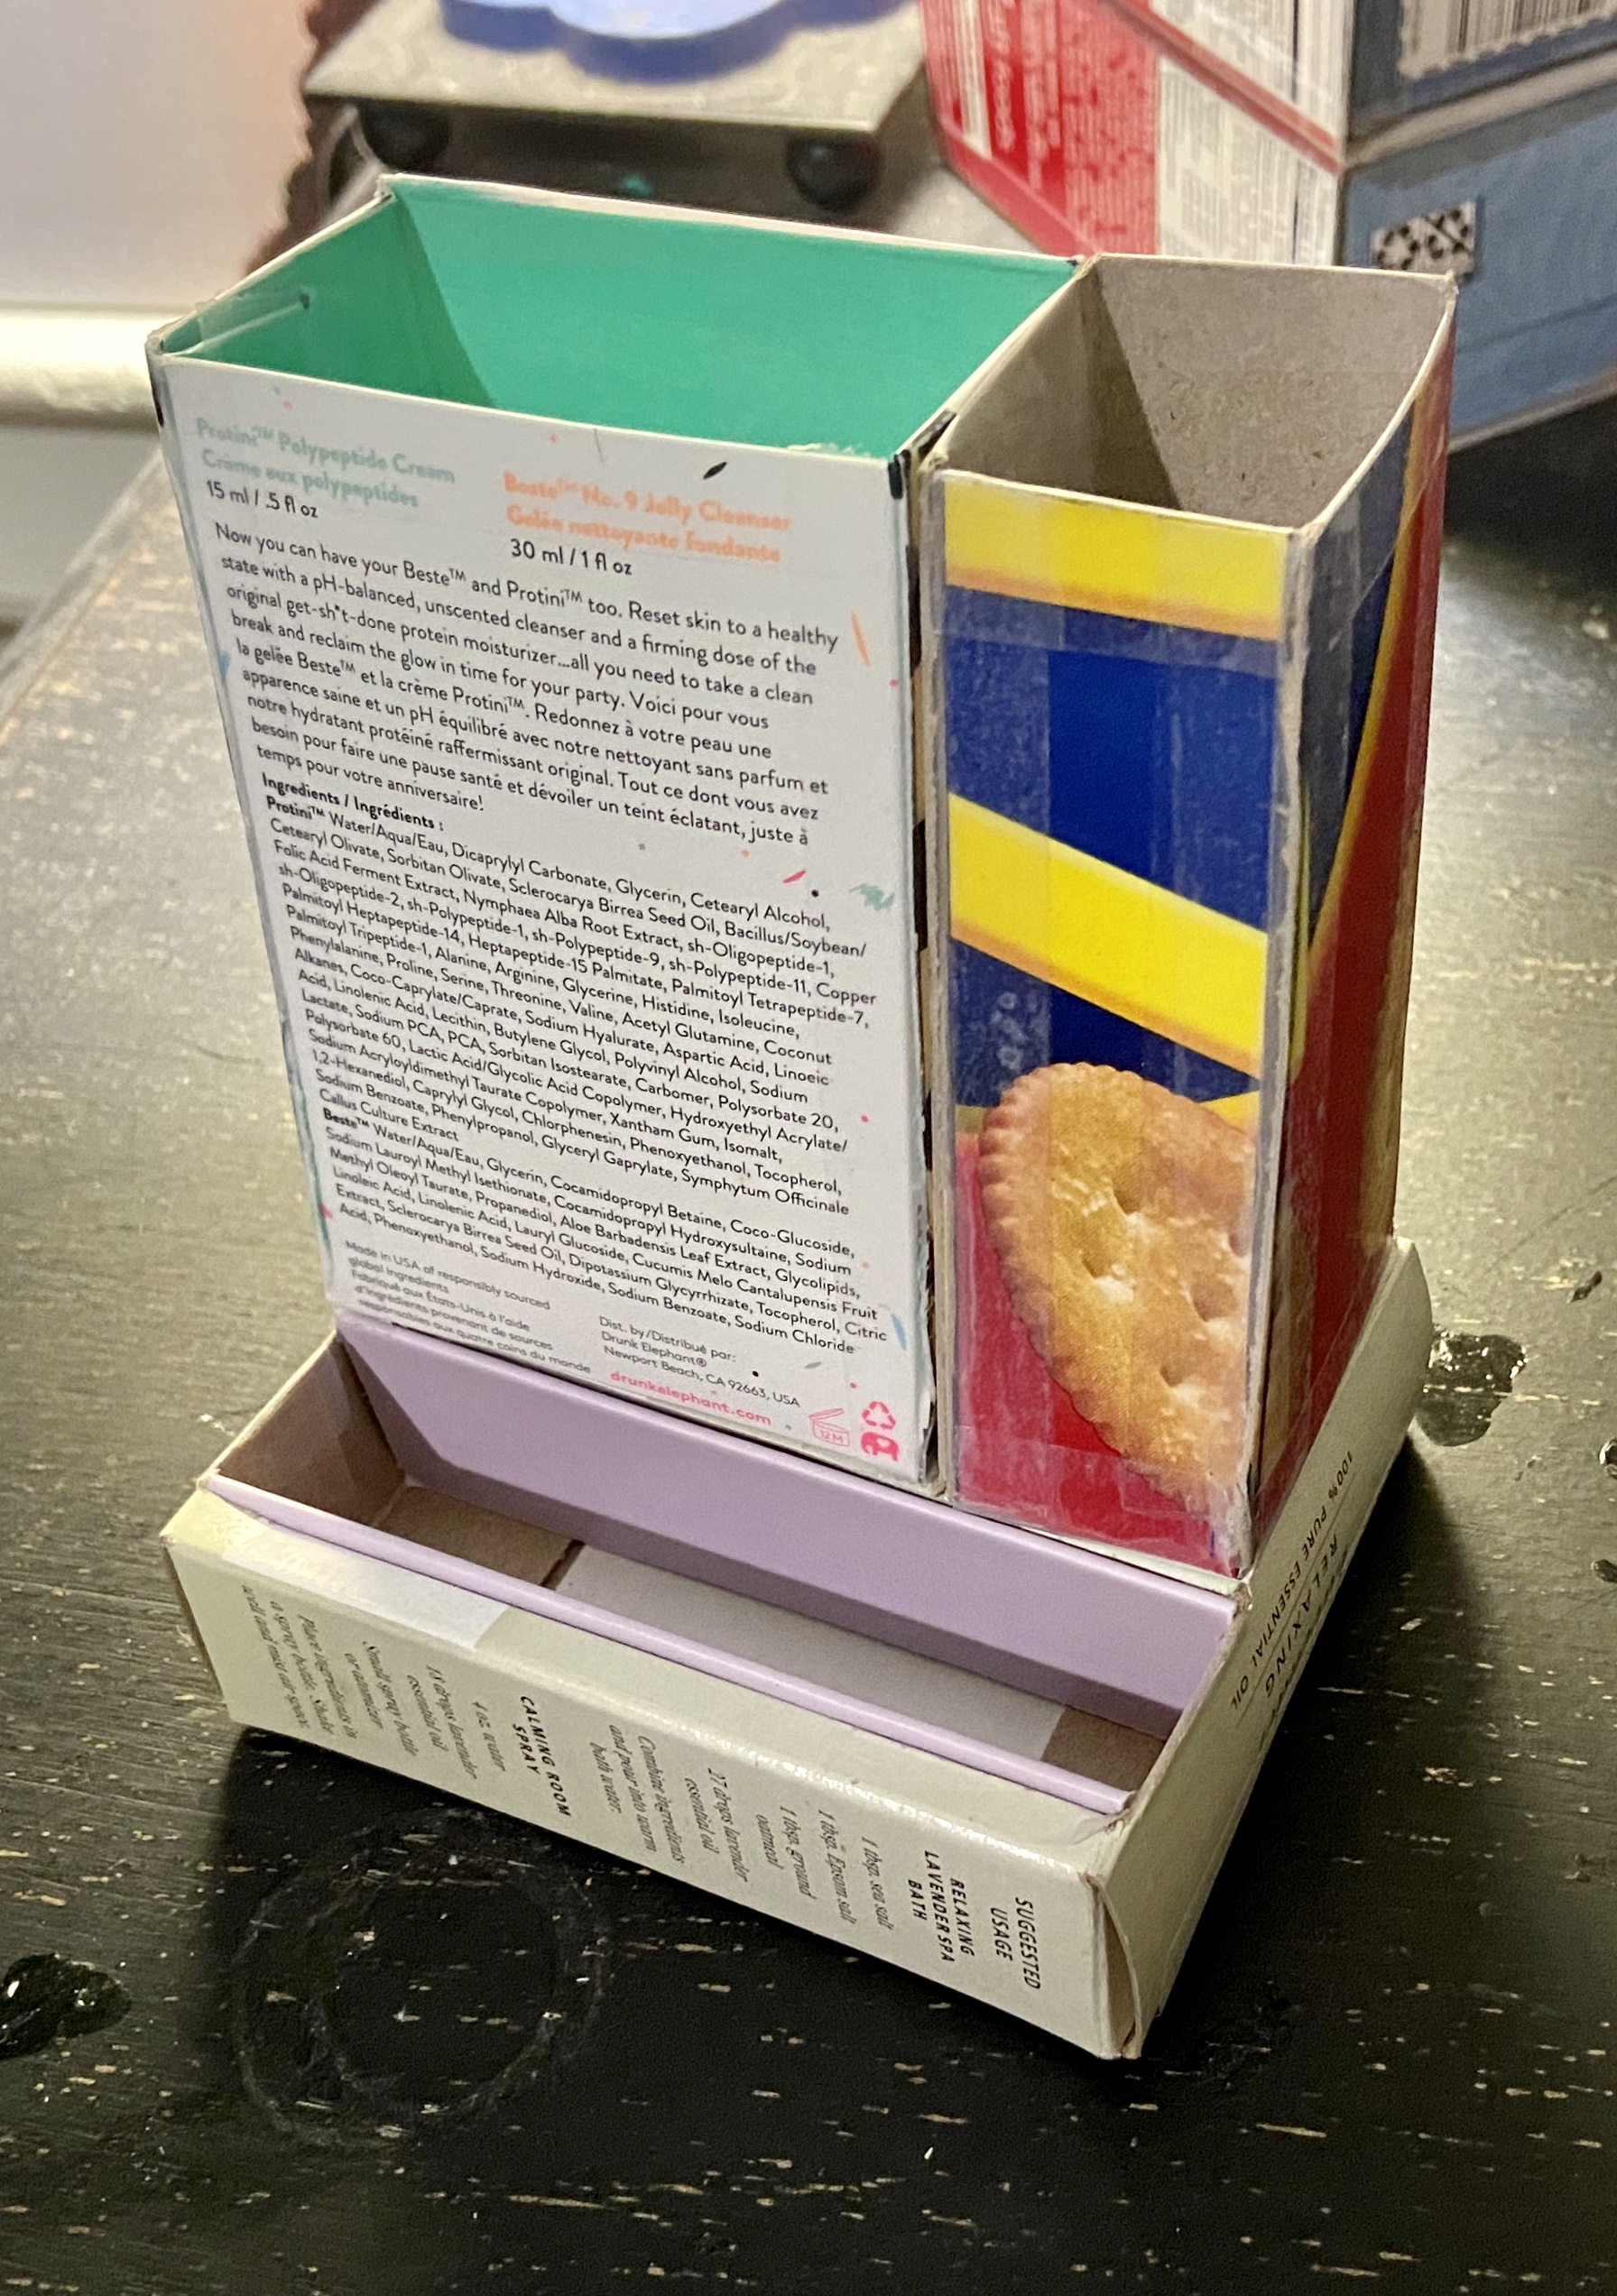
As I was cutting the cardboard, I noticed that some edges were jagged and coming apart, and therefore had to tape any raw edges.
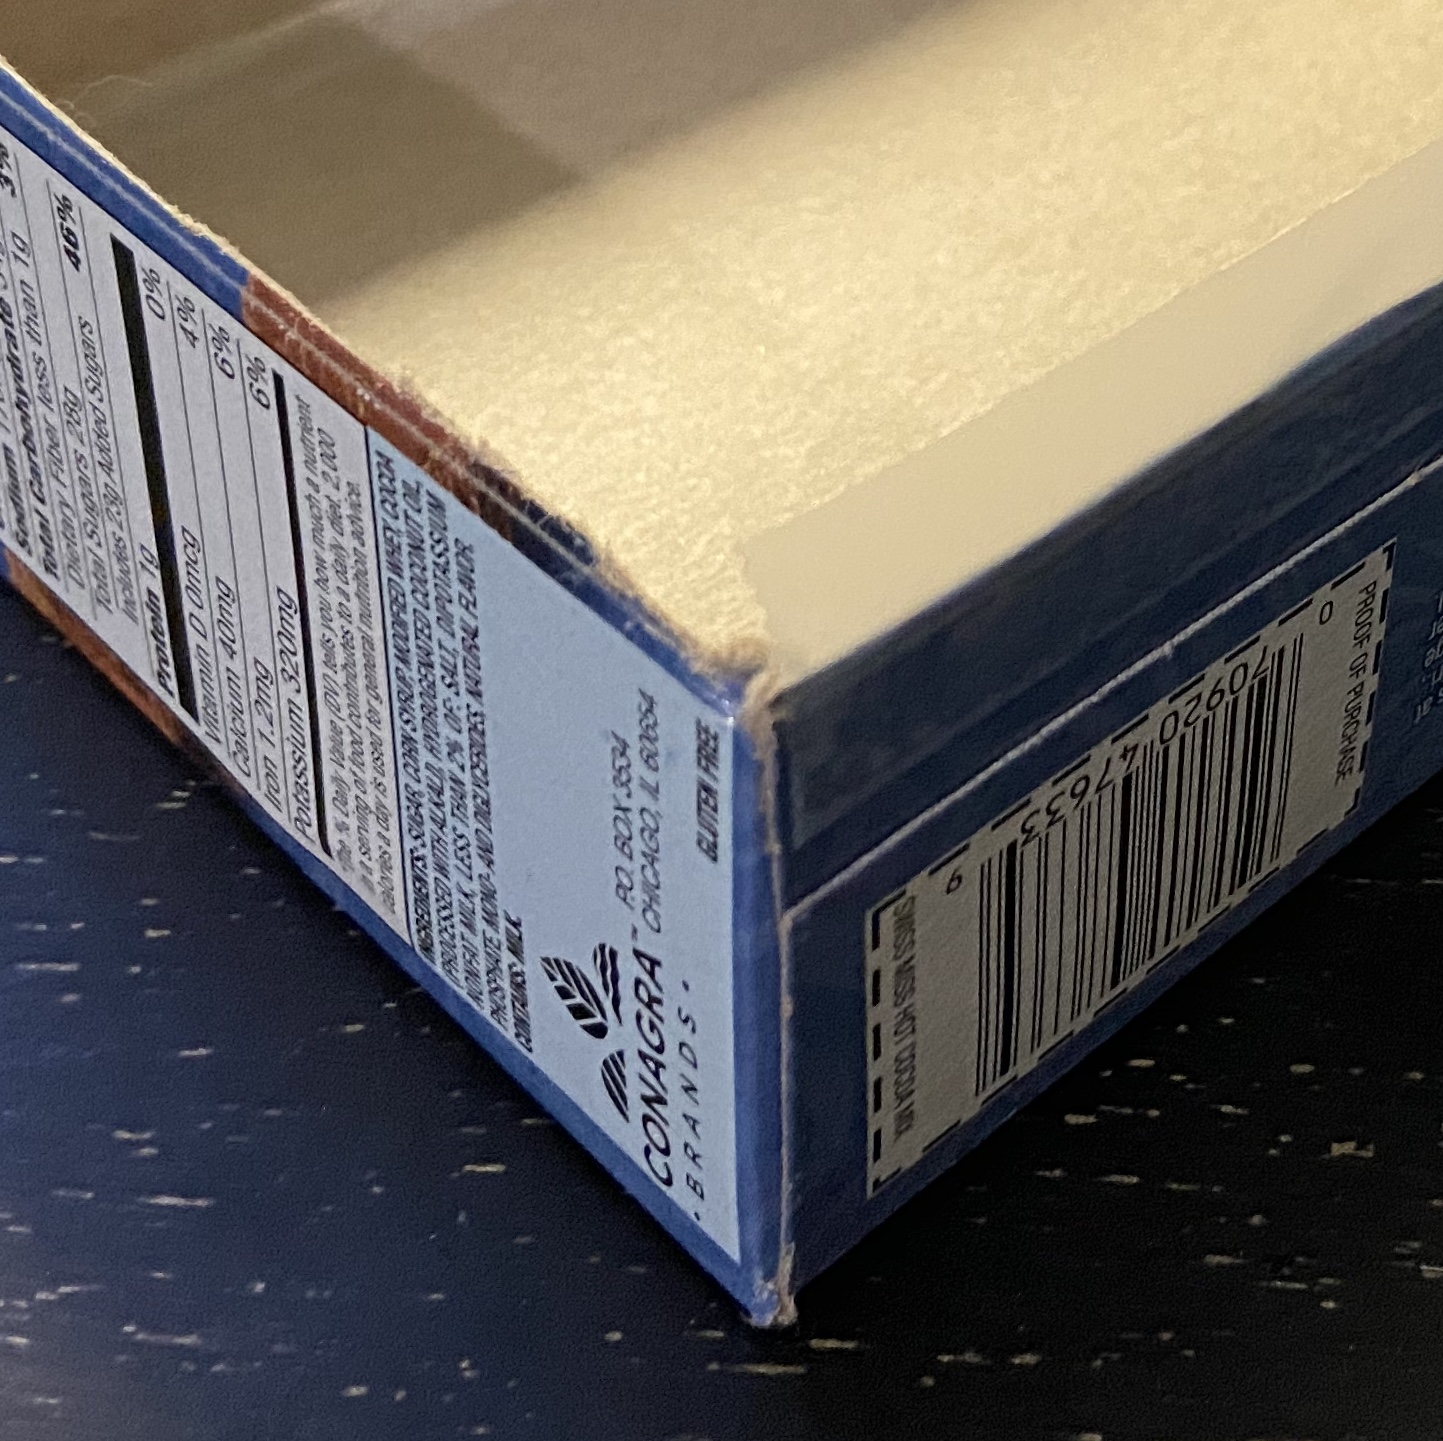
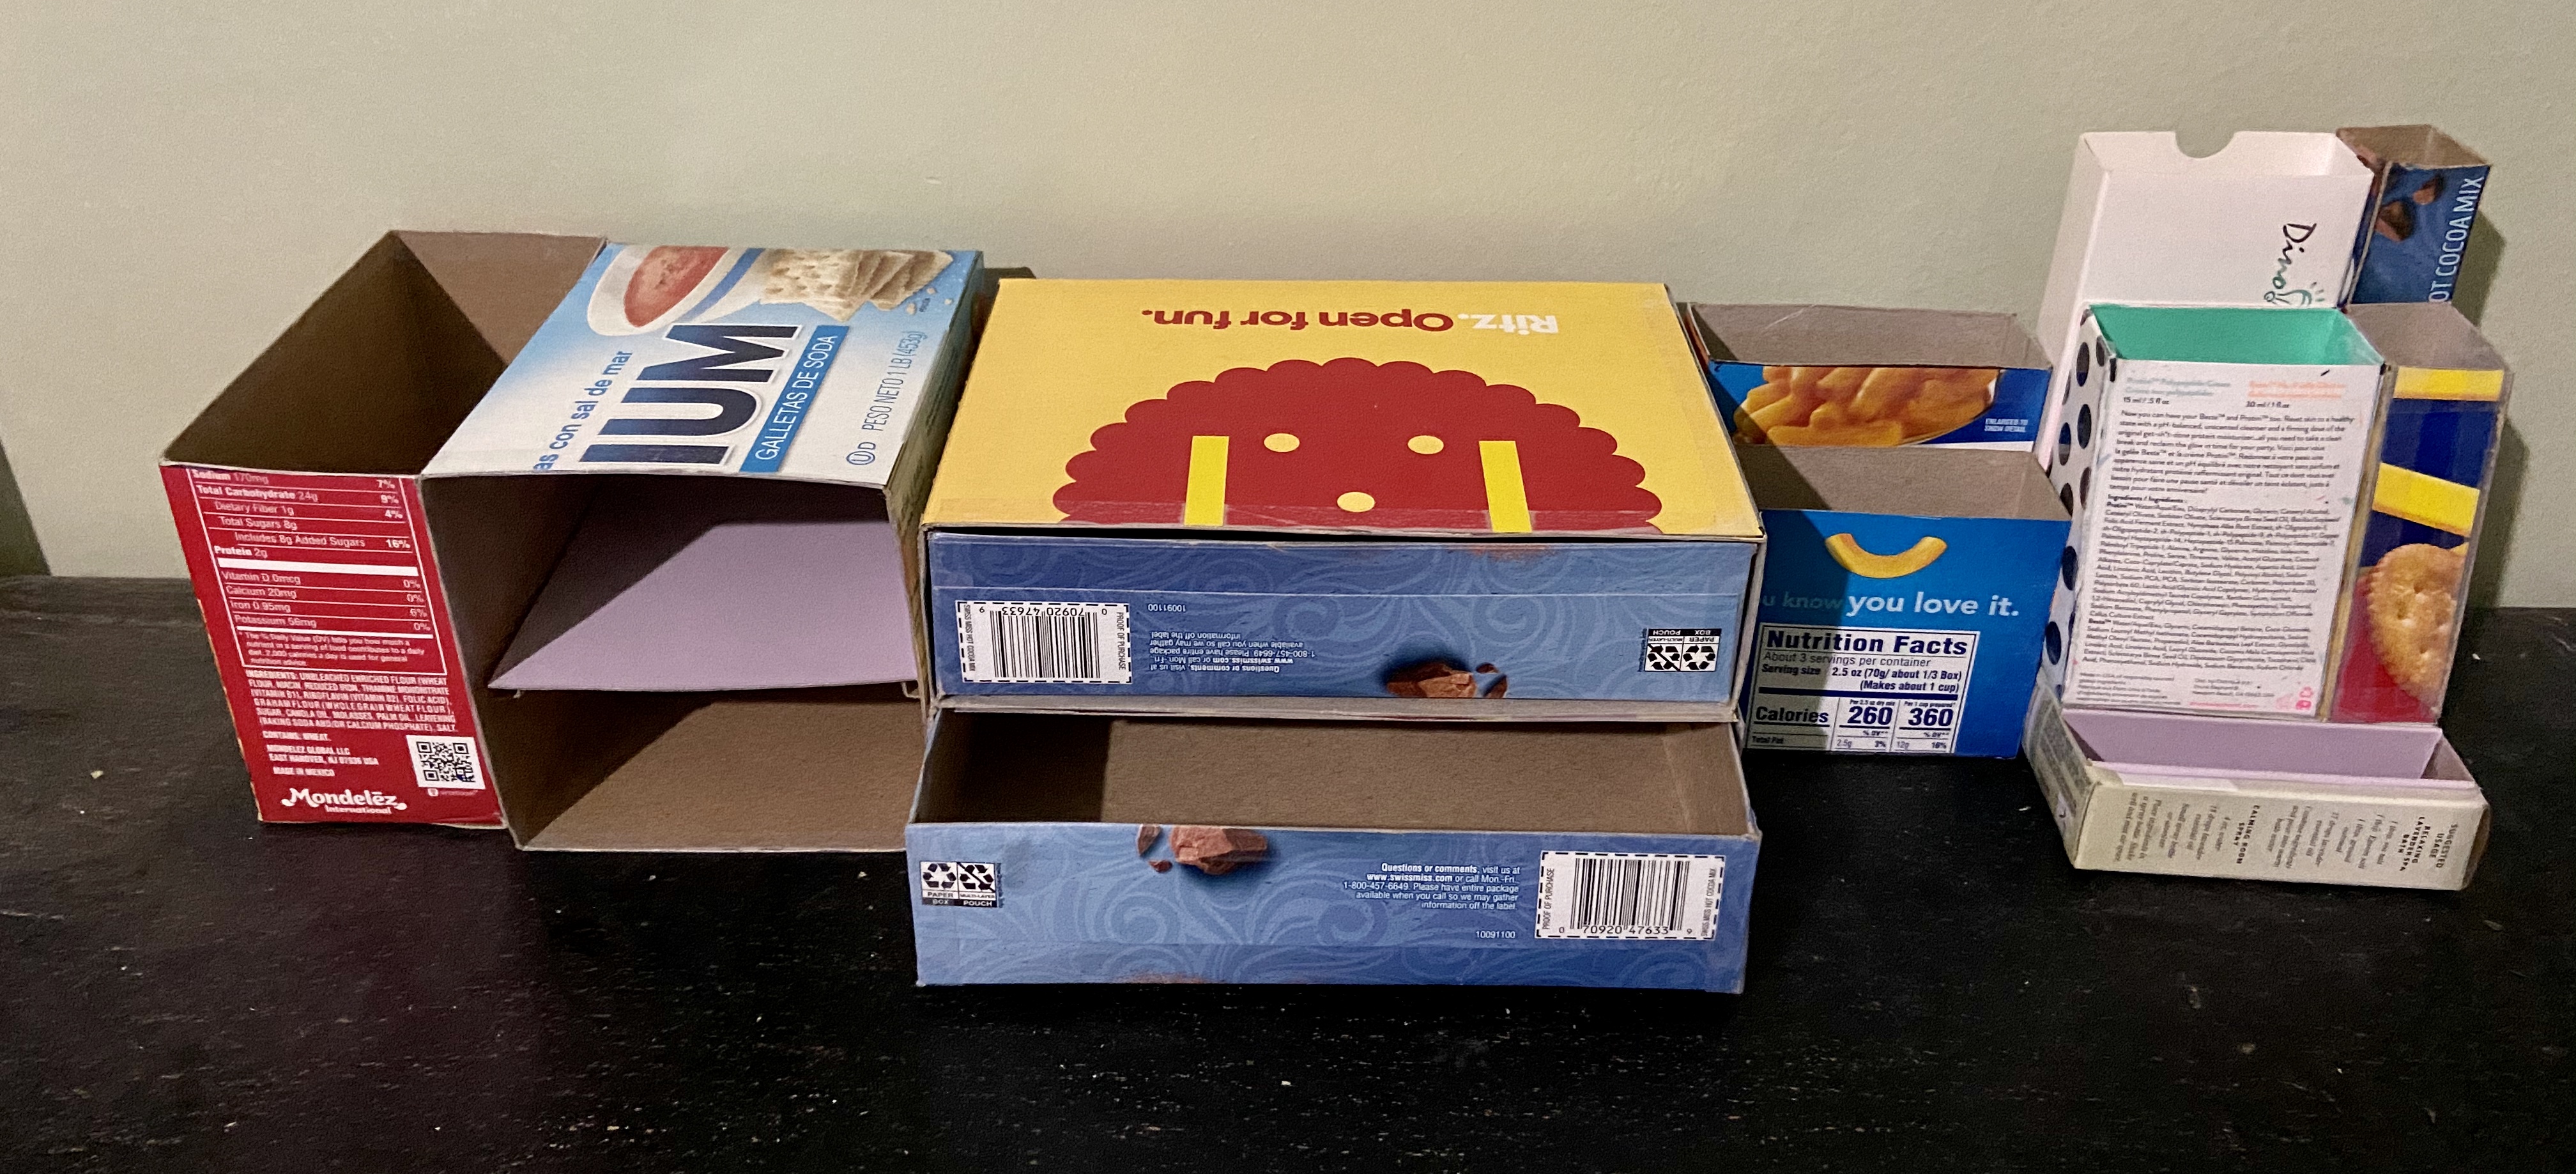
This is the unpainted organizer.
In order to make the organizer look nicer, I decided to paint the outside using acrylic paint. Although I had initially considered covering it using paper, I decided to try and see if I can imitate a wooden exterior by painting instead.
I initially started by covering the outer layer using white acrylic paint, to act as gesso. As I painted my second and third coats, however, I noticed the paint slipping around and chipping off. This was especially a problem in areas with tape covering the cardboard. I decided to leave it alone, and hope that additional layers would cover it. It may have been better to use glue to set the edges and close any gaps.
For the paint, I chose to use a dark brown for the base of my exterior. I started off by painting the brown color using a boar bristle brush, but noticed that it was too coarse for the smooth surface of the cardboard and also scratched off the white paint. Therefore, I switched back to the softer brush I had used earlier for the white paint.
I tried to use less paint and spread a thin layer across the whole surface in order to reduce the drying time, but realized that by trying to spread the thin layer, the paint slipped around and did not produce an even surface. Therefore, I decided to apply a relatively thick layer instead and wait longer for the paint to dry. This gave the exterior a more uniform look.

This is the kind of image I had for the wood pattern. I had initially thought of adding the darker lines later on, but as the acrylic paint dried I realized that the base color was darker than I expected. Therefore, I chose instead to add the lighter colors on top, and use a dark color only for the deepest grains.
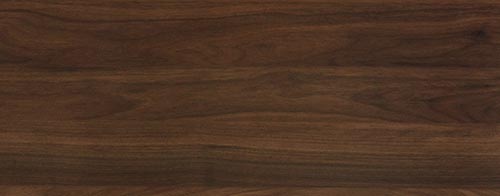
Attempt to paint a wood pattern.

I then glued black wrapping paper to the insides and covered up the raw edges using gold craft tape.
Finally, I used a piece of cardboard to construct the handle of the drawers.
This is the completed desk organizer.
The drawers are a little difficult to open due to the acrylic paint being tacky and the tight clearance between the container and the drawer.
