Manufacturing Process
The manufacturing process, done safely masked and outside.
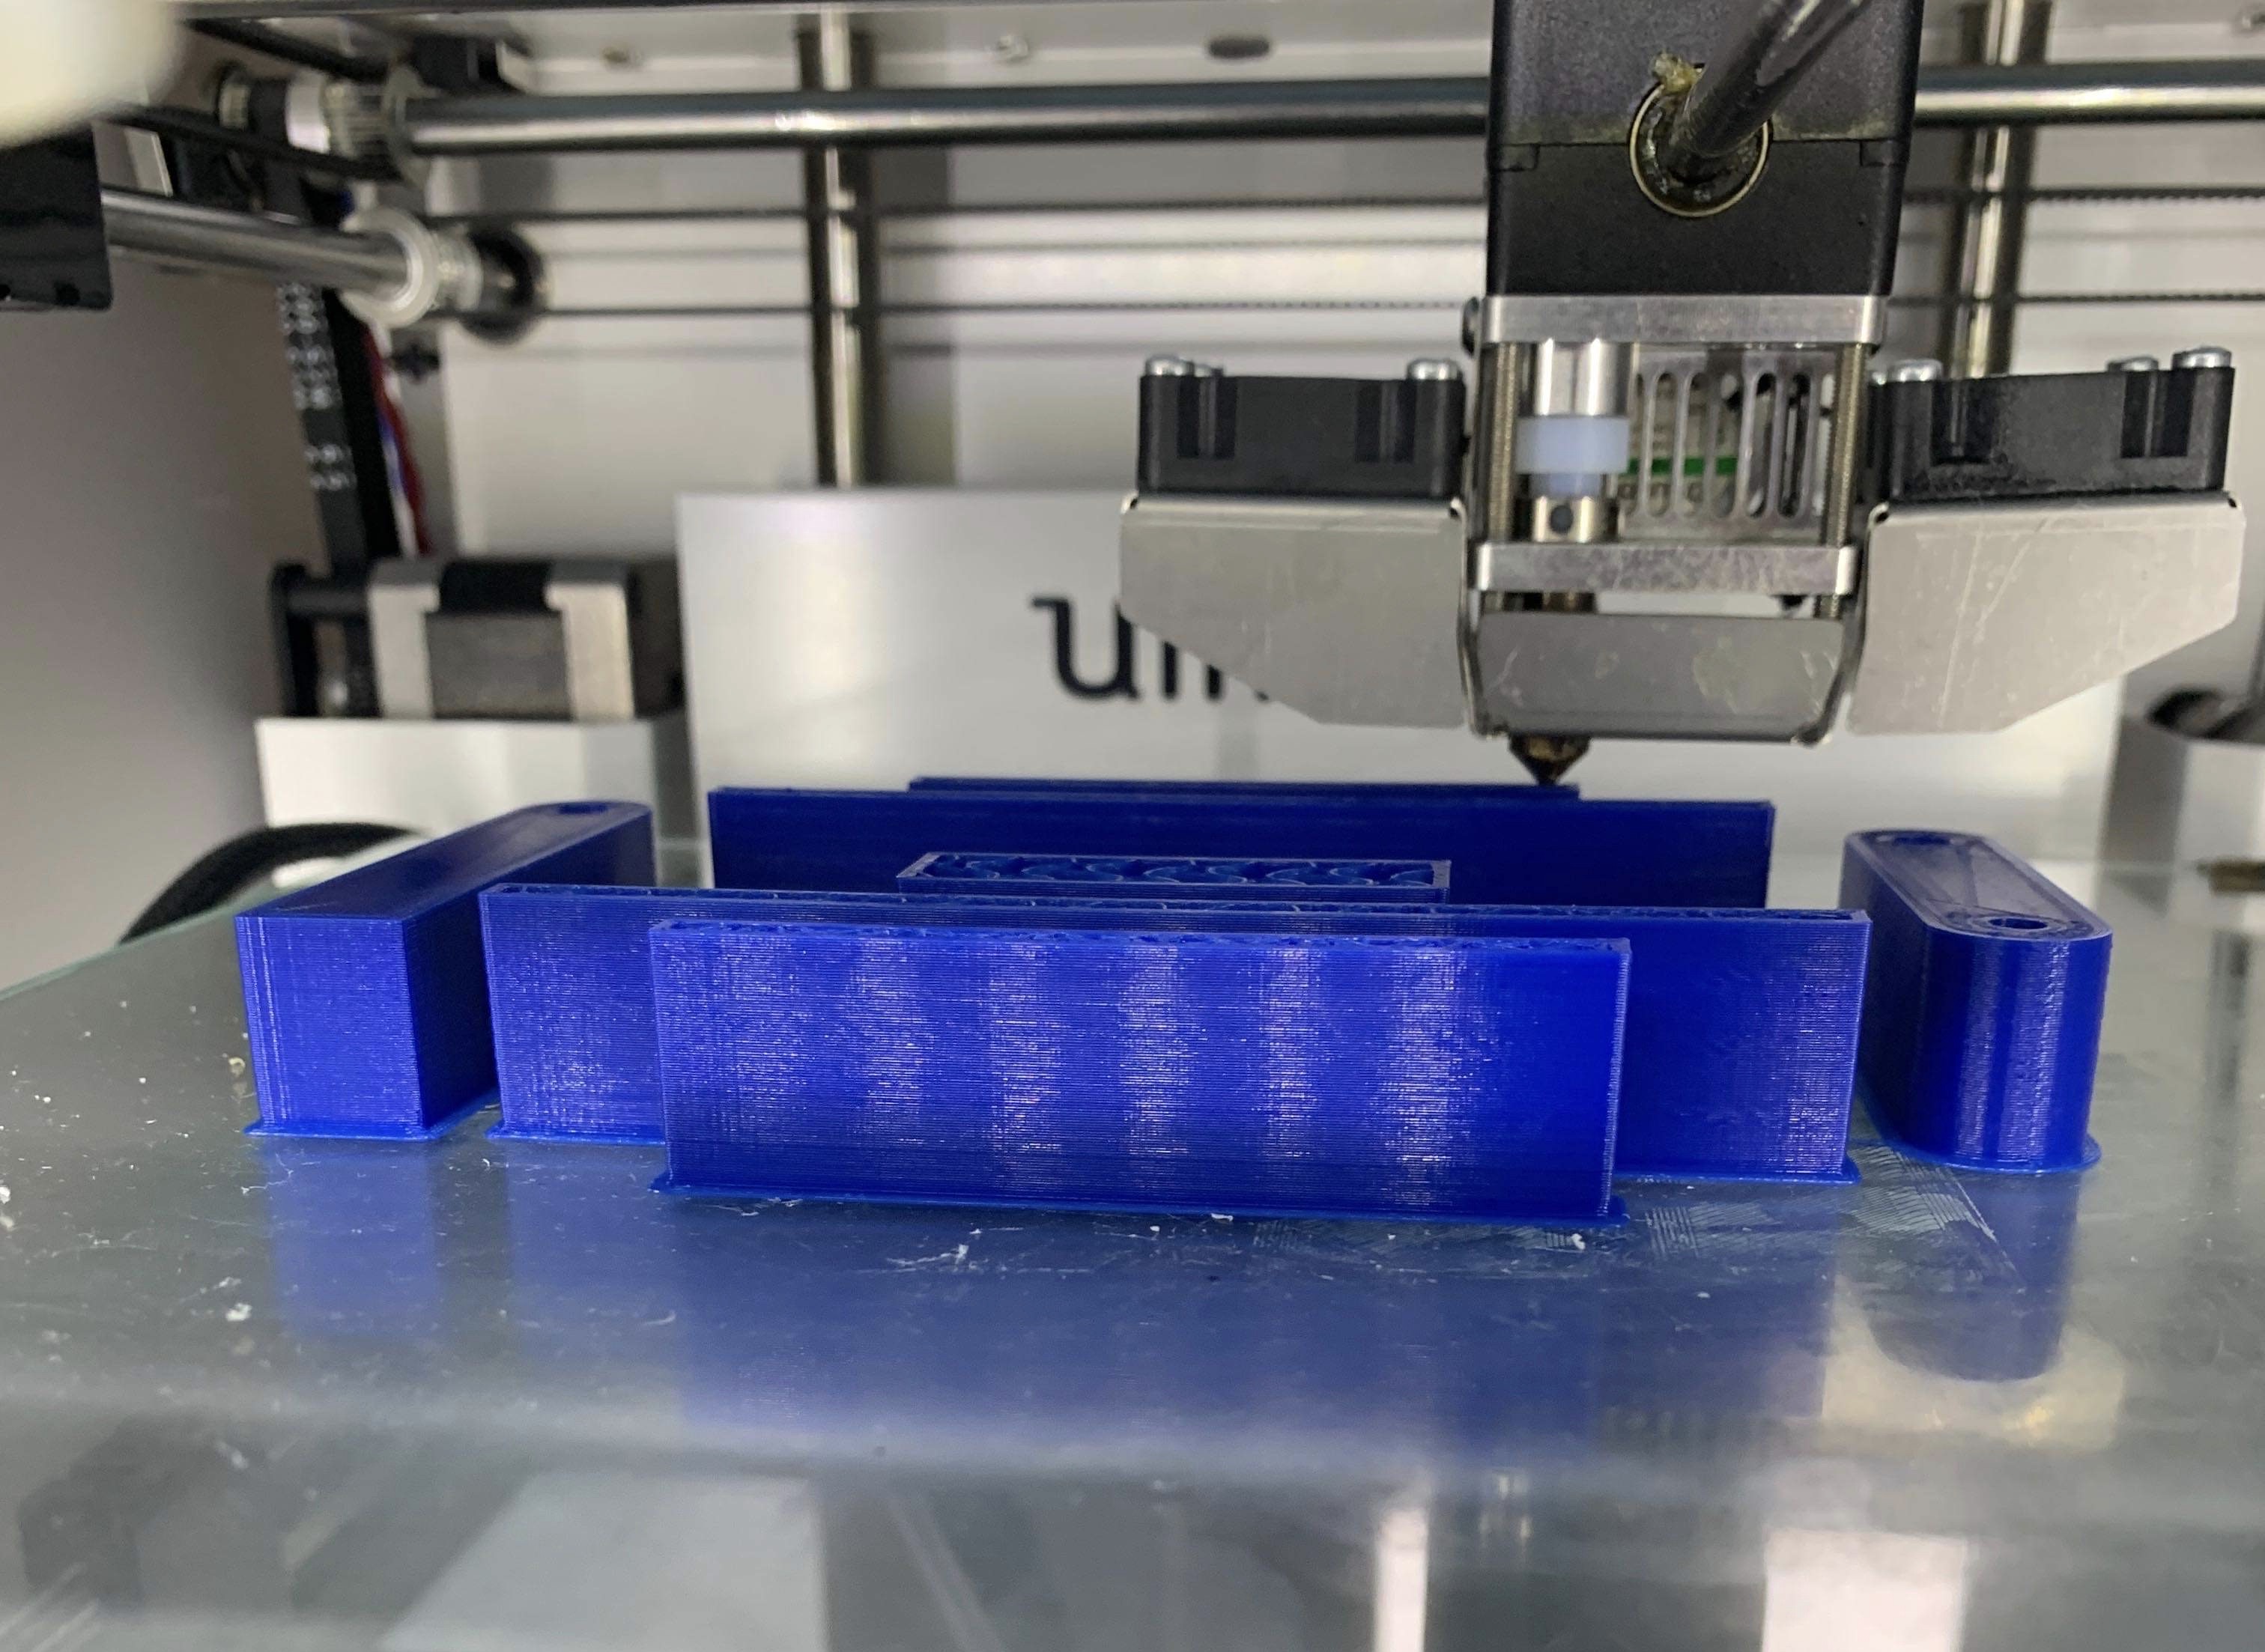
Our parts were 3D printed.
The parts were printed using an infill density of 10%.

We ordered additional parts including acrylic, L-brackets, and friction pads online.
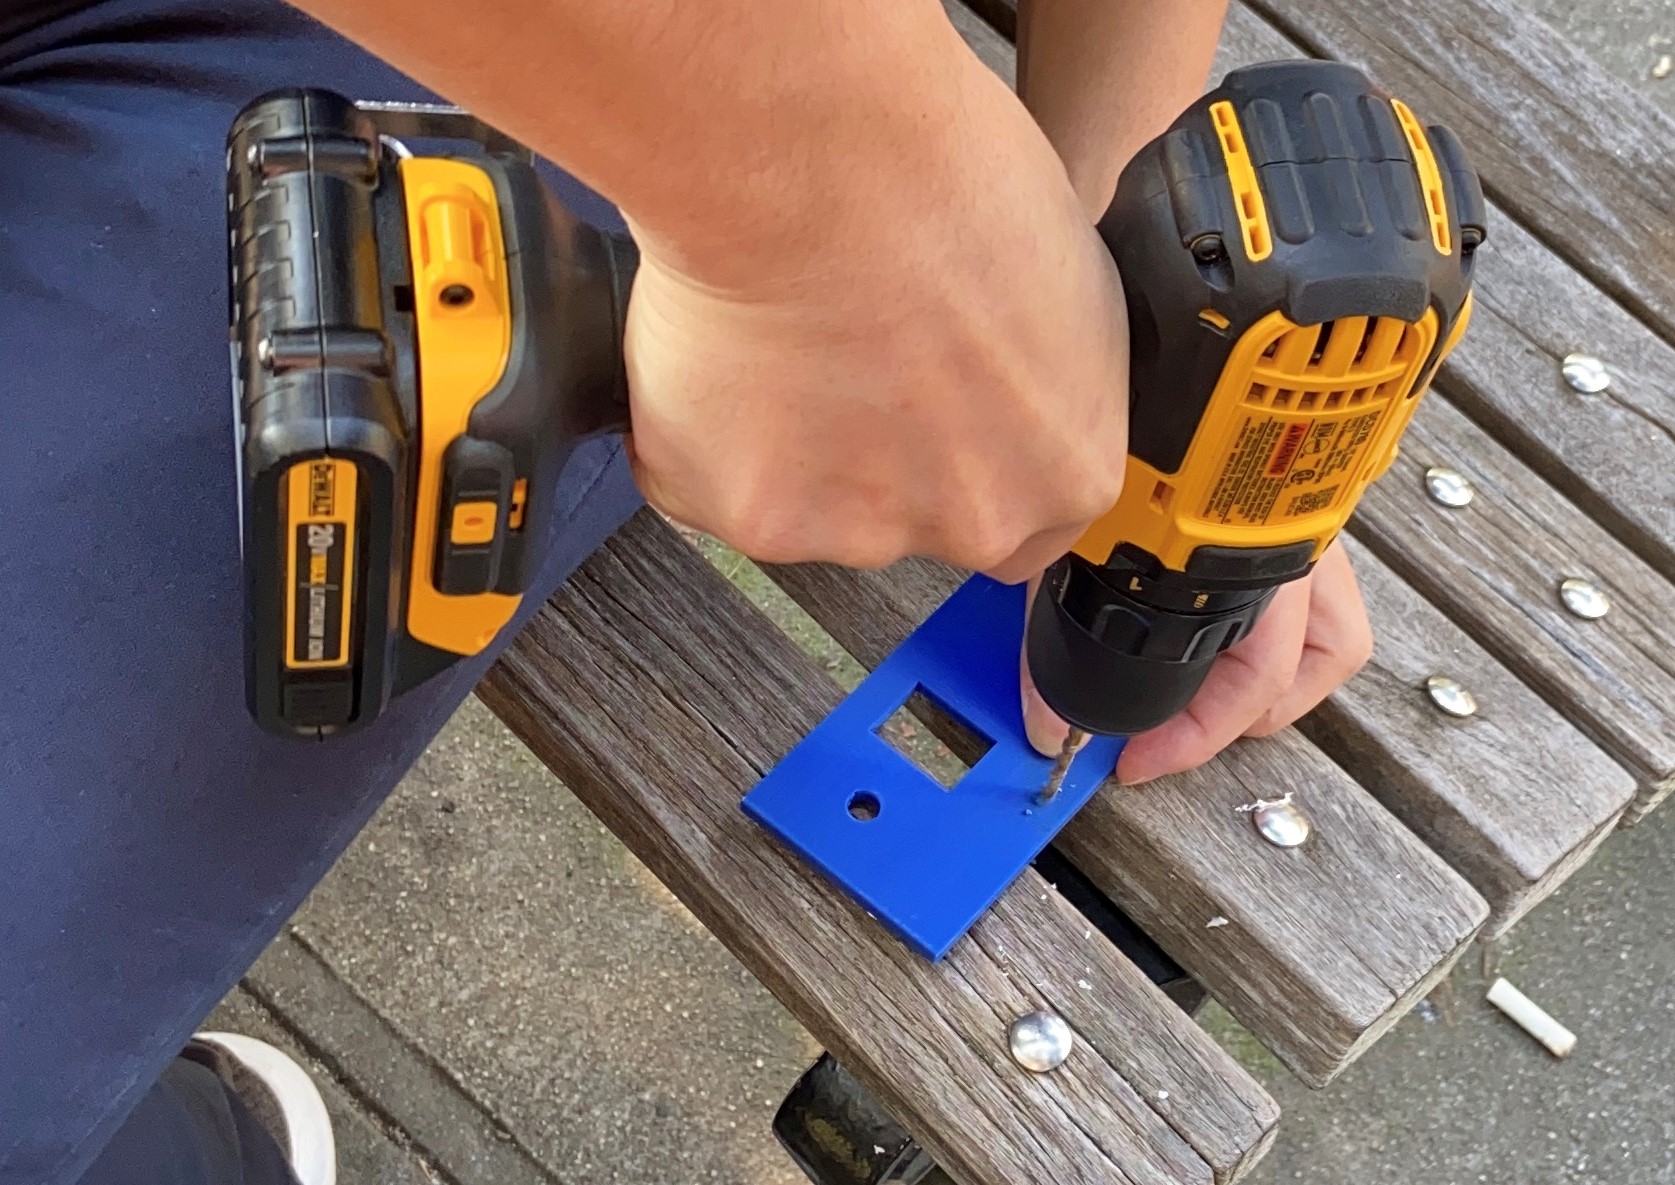
We started with our 3D printed parts, drilling holes for the fixtures.

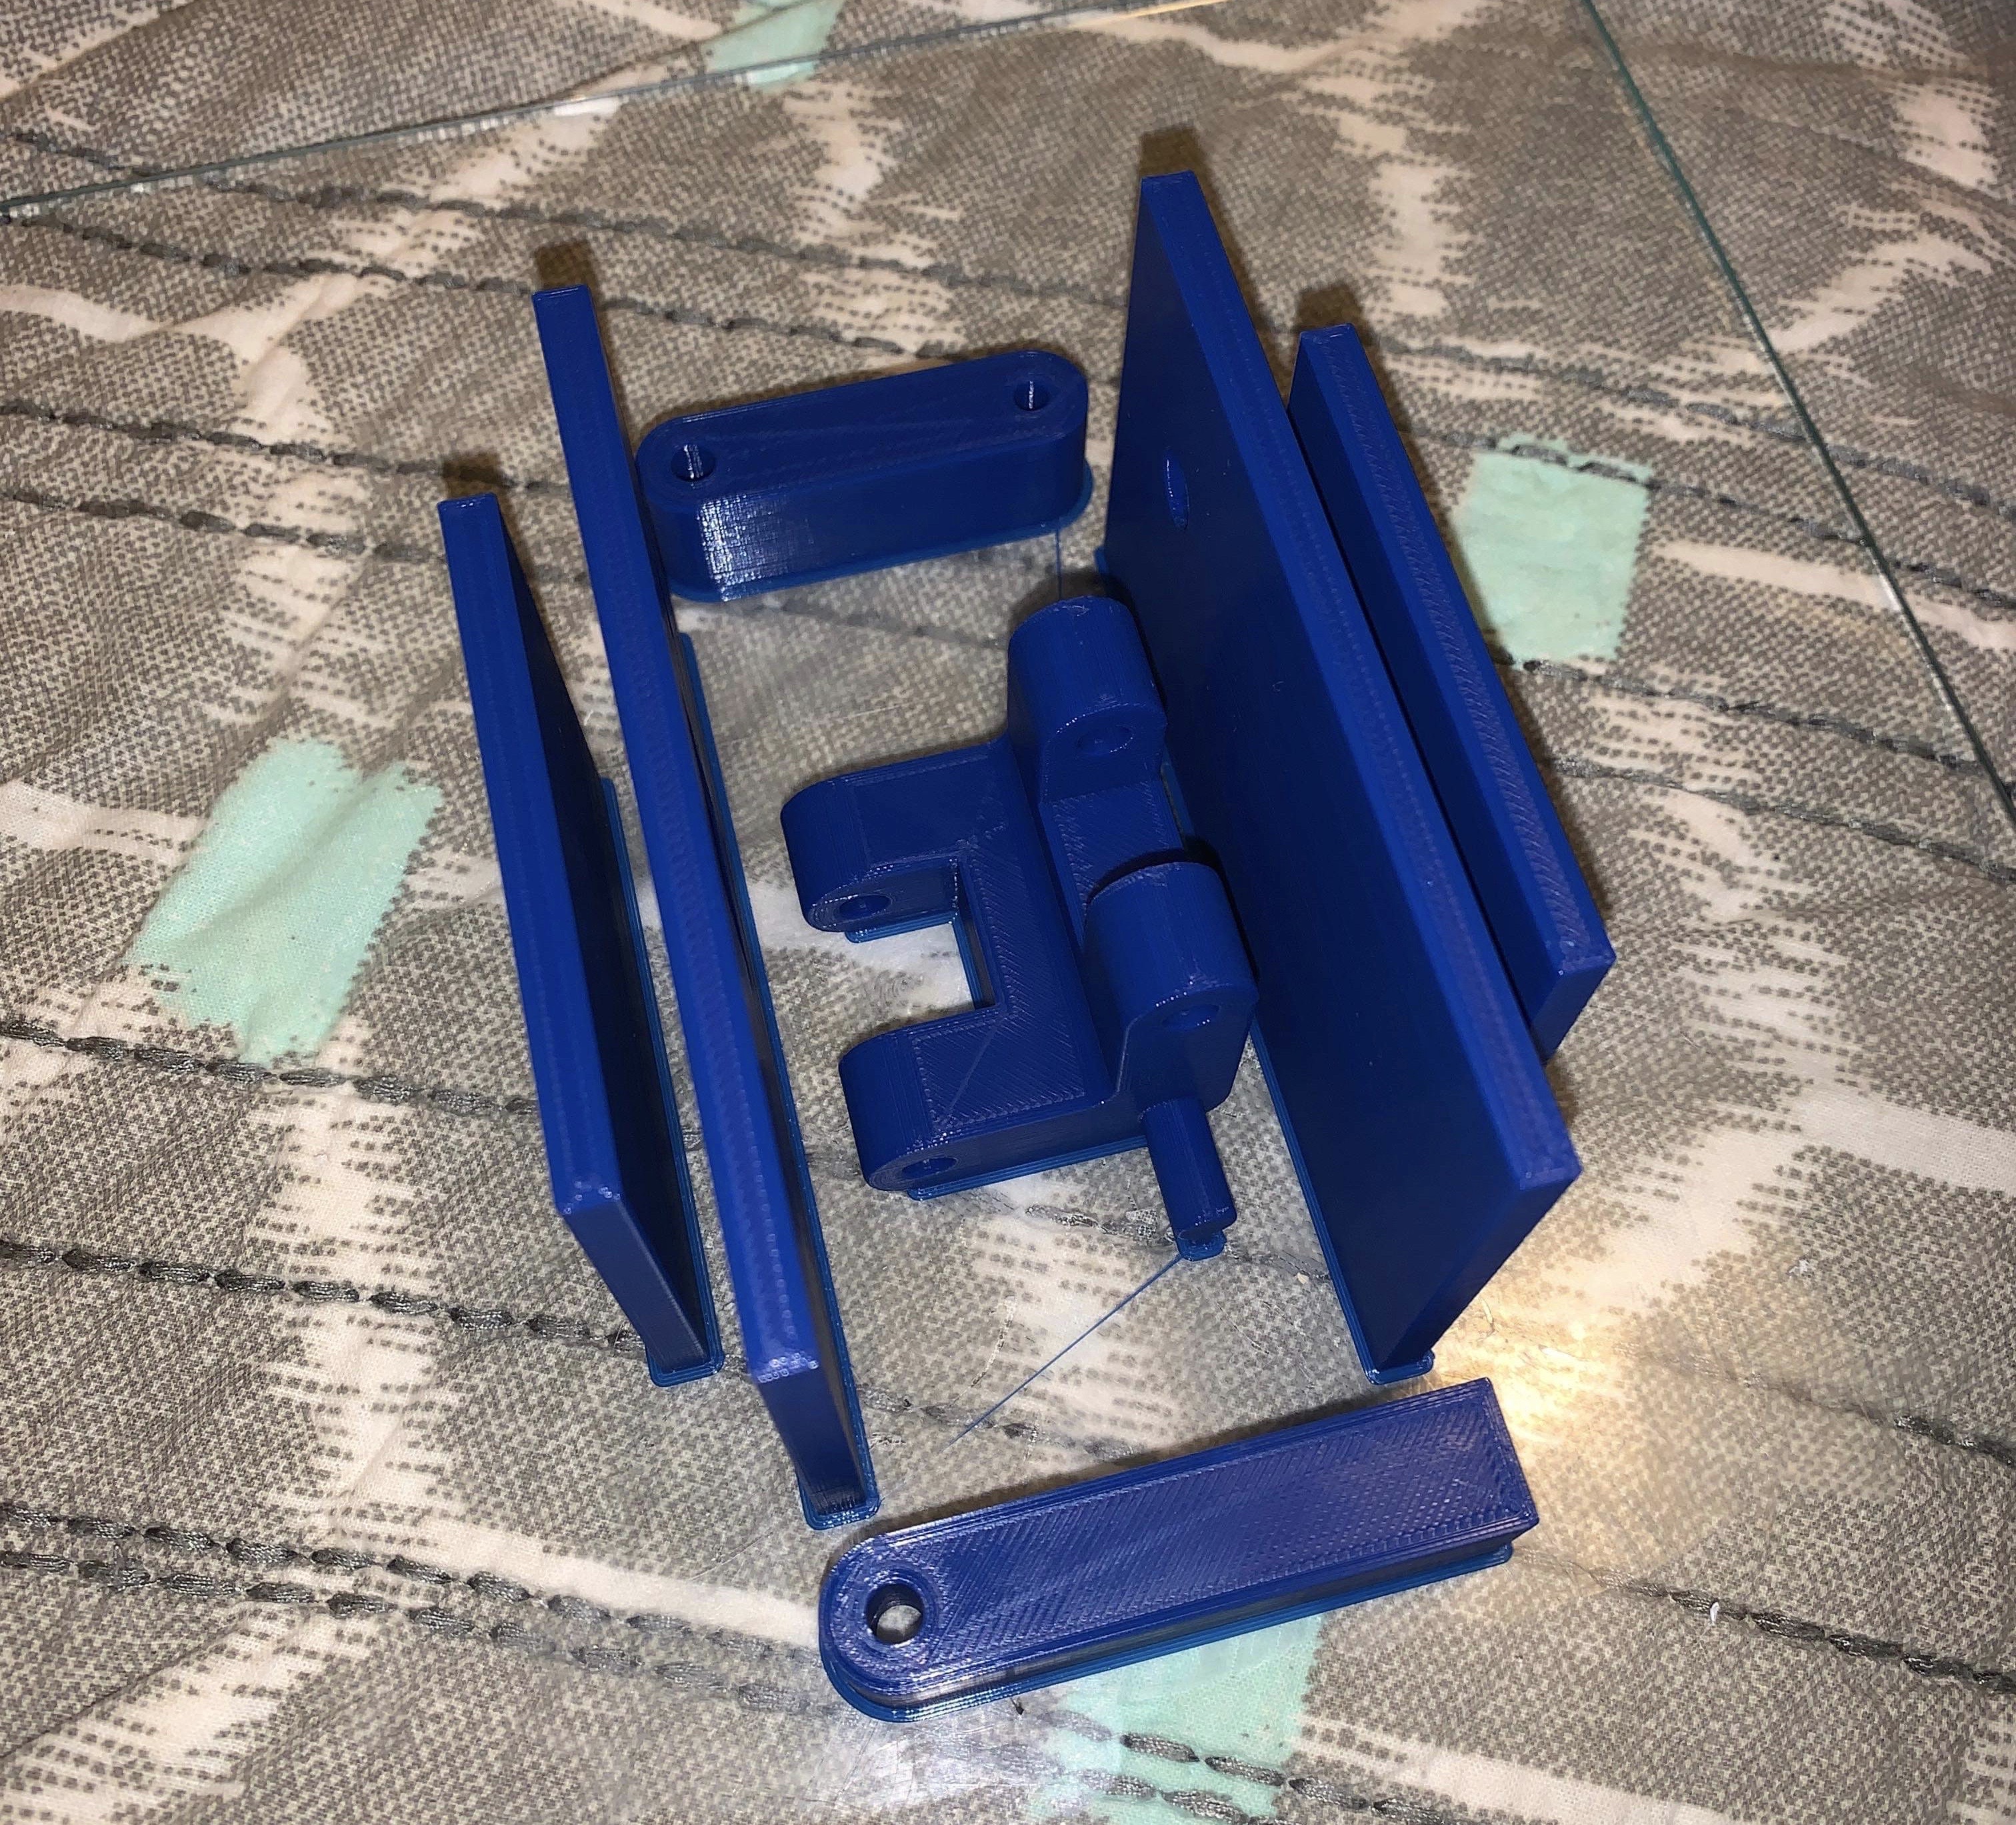
We started putting together the 3D printed parts.
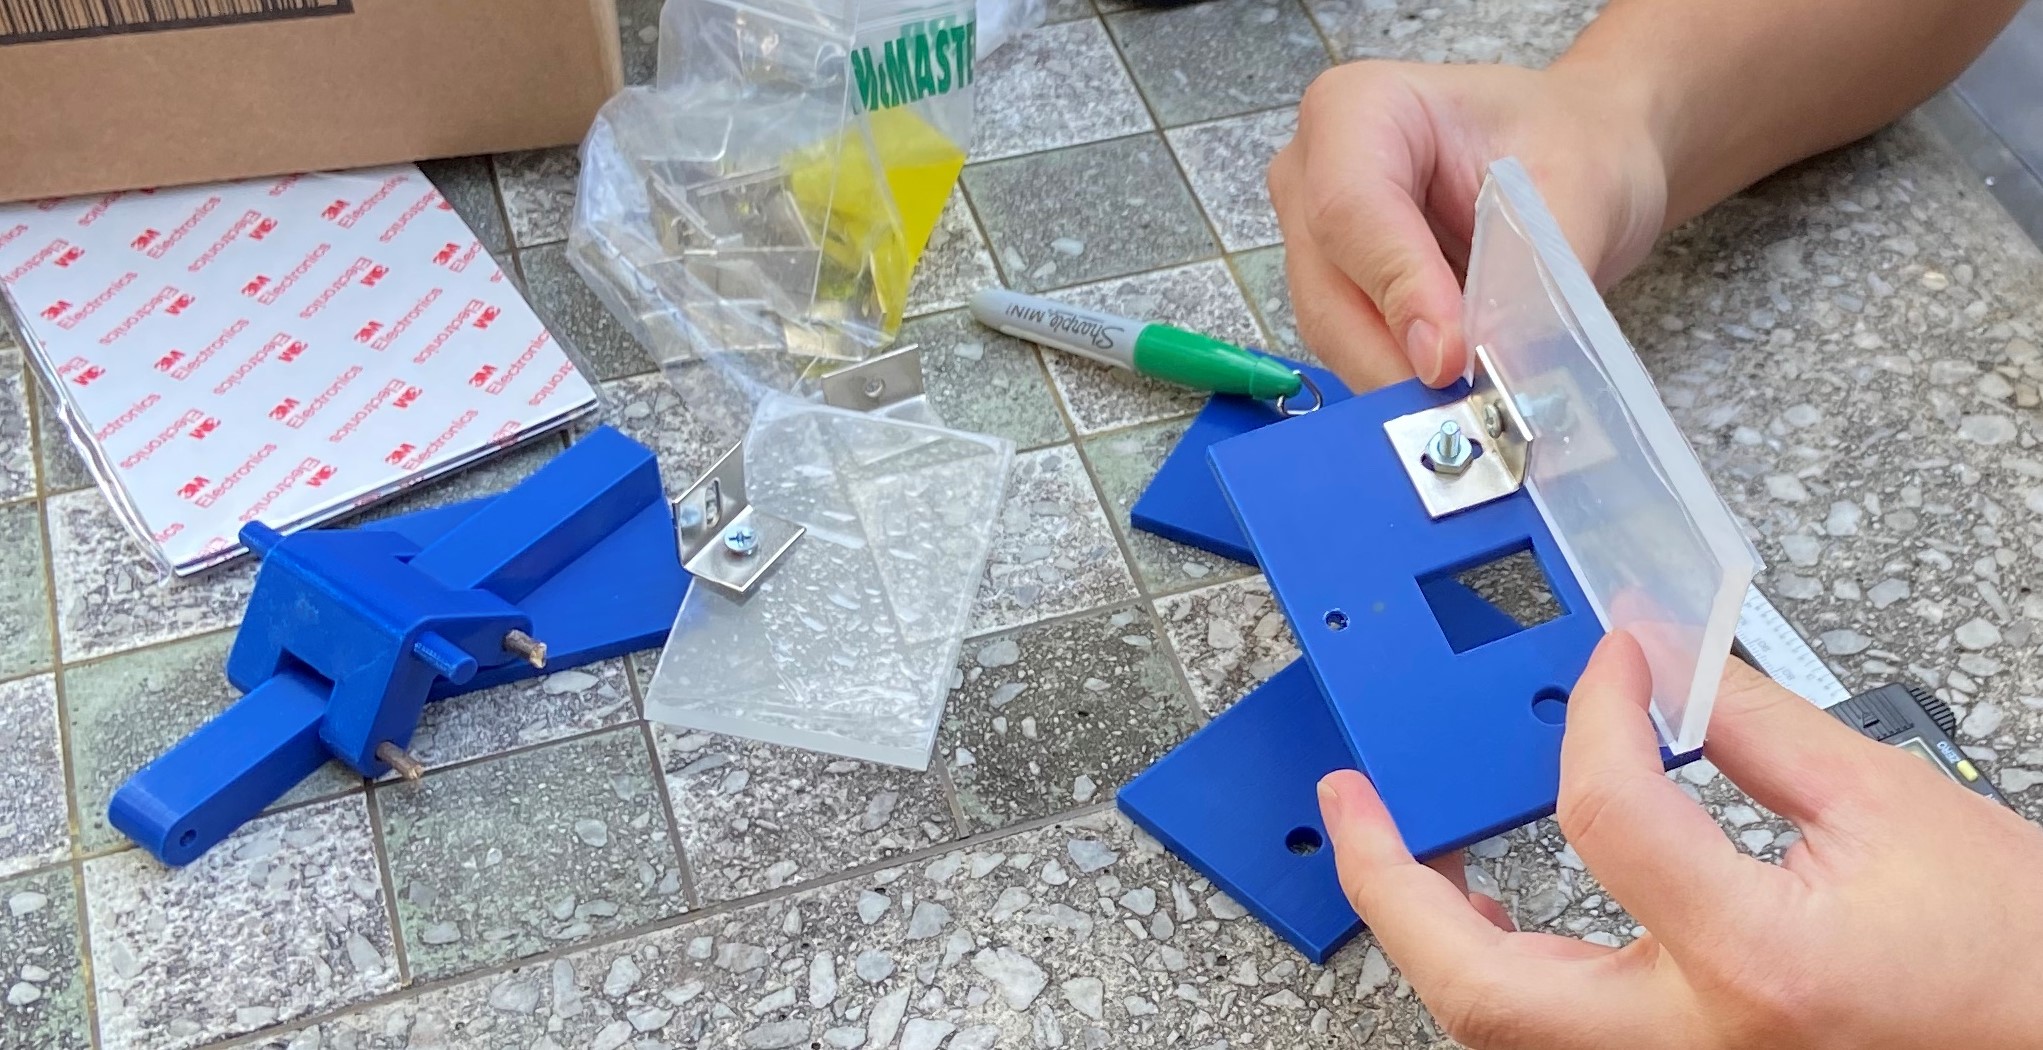
We used L-brackets to put together the outer casing in order to make disassembly easy so that we could access the inside if necessary during the testing process. We realized that the L-brackets are very large in comparison to the overall casing, which was difficult to work around.
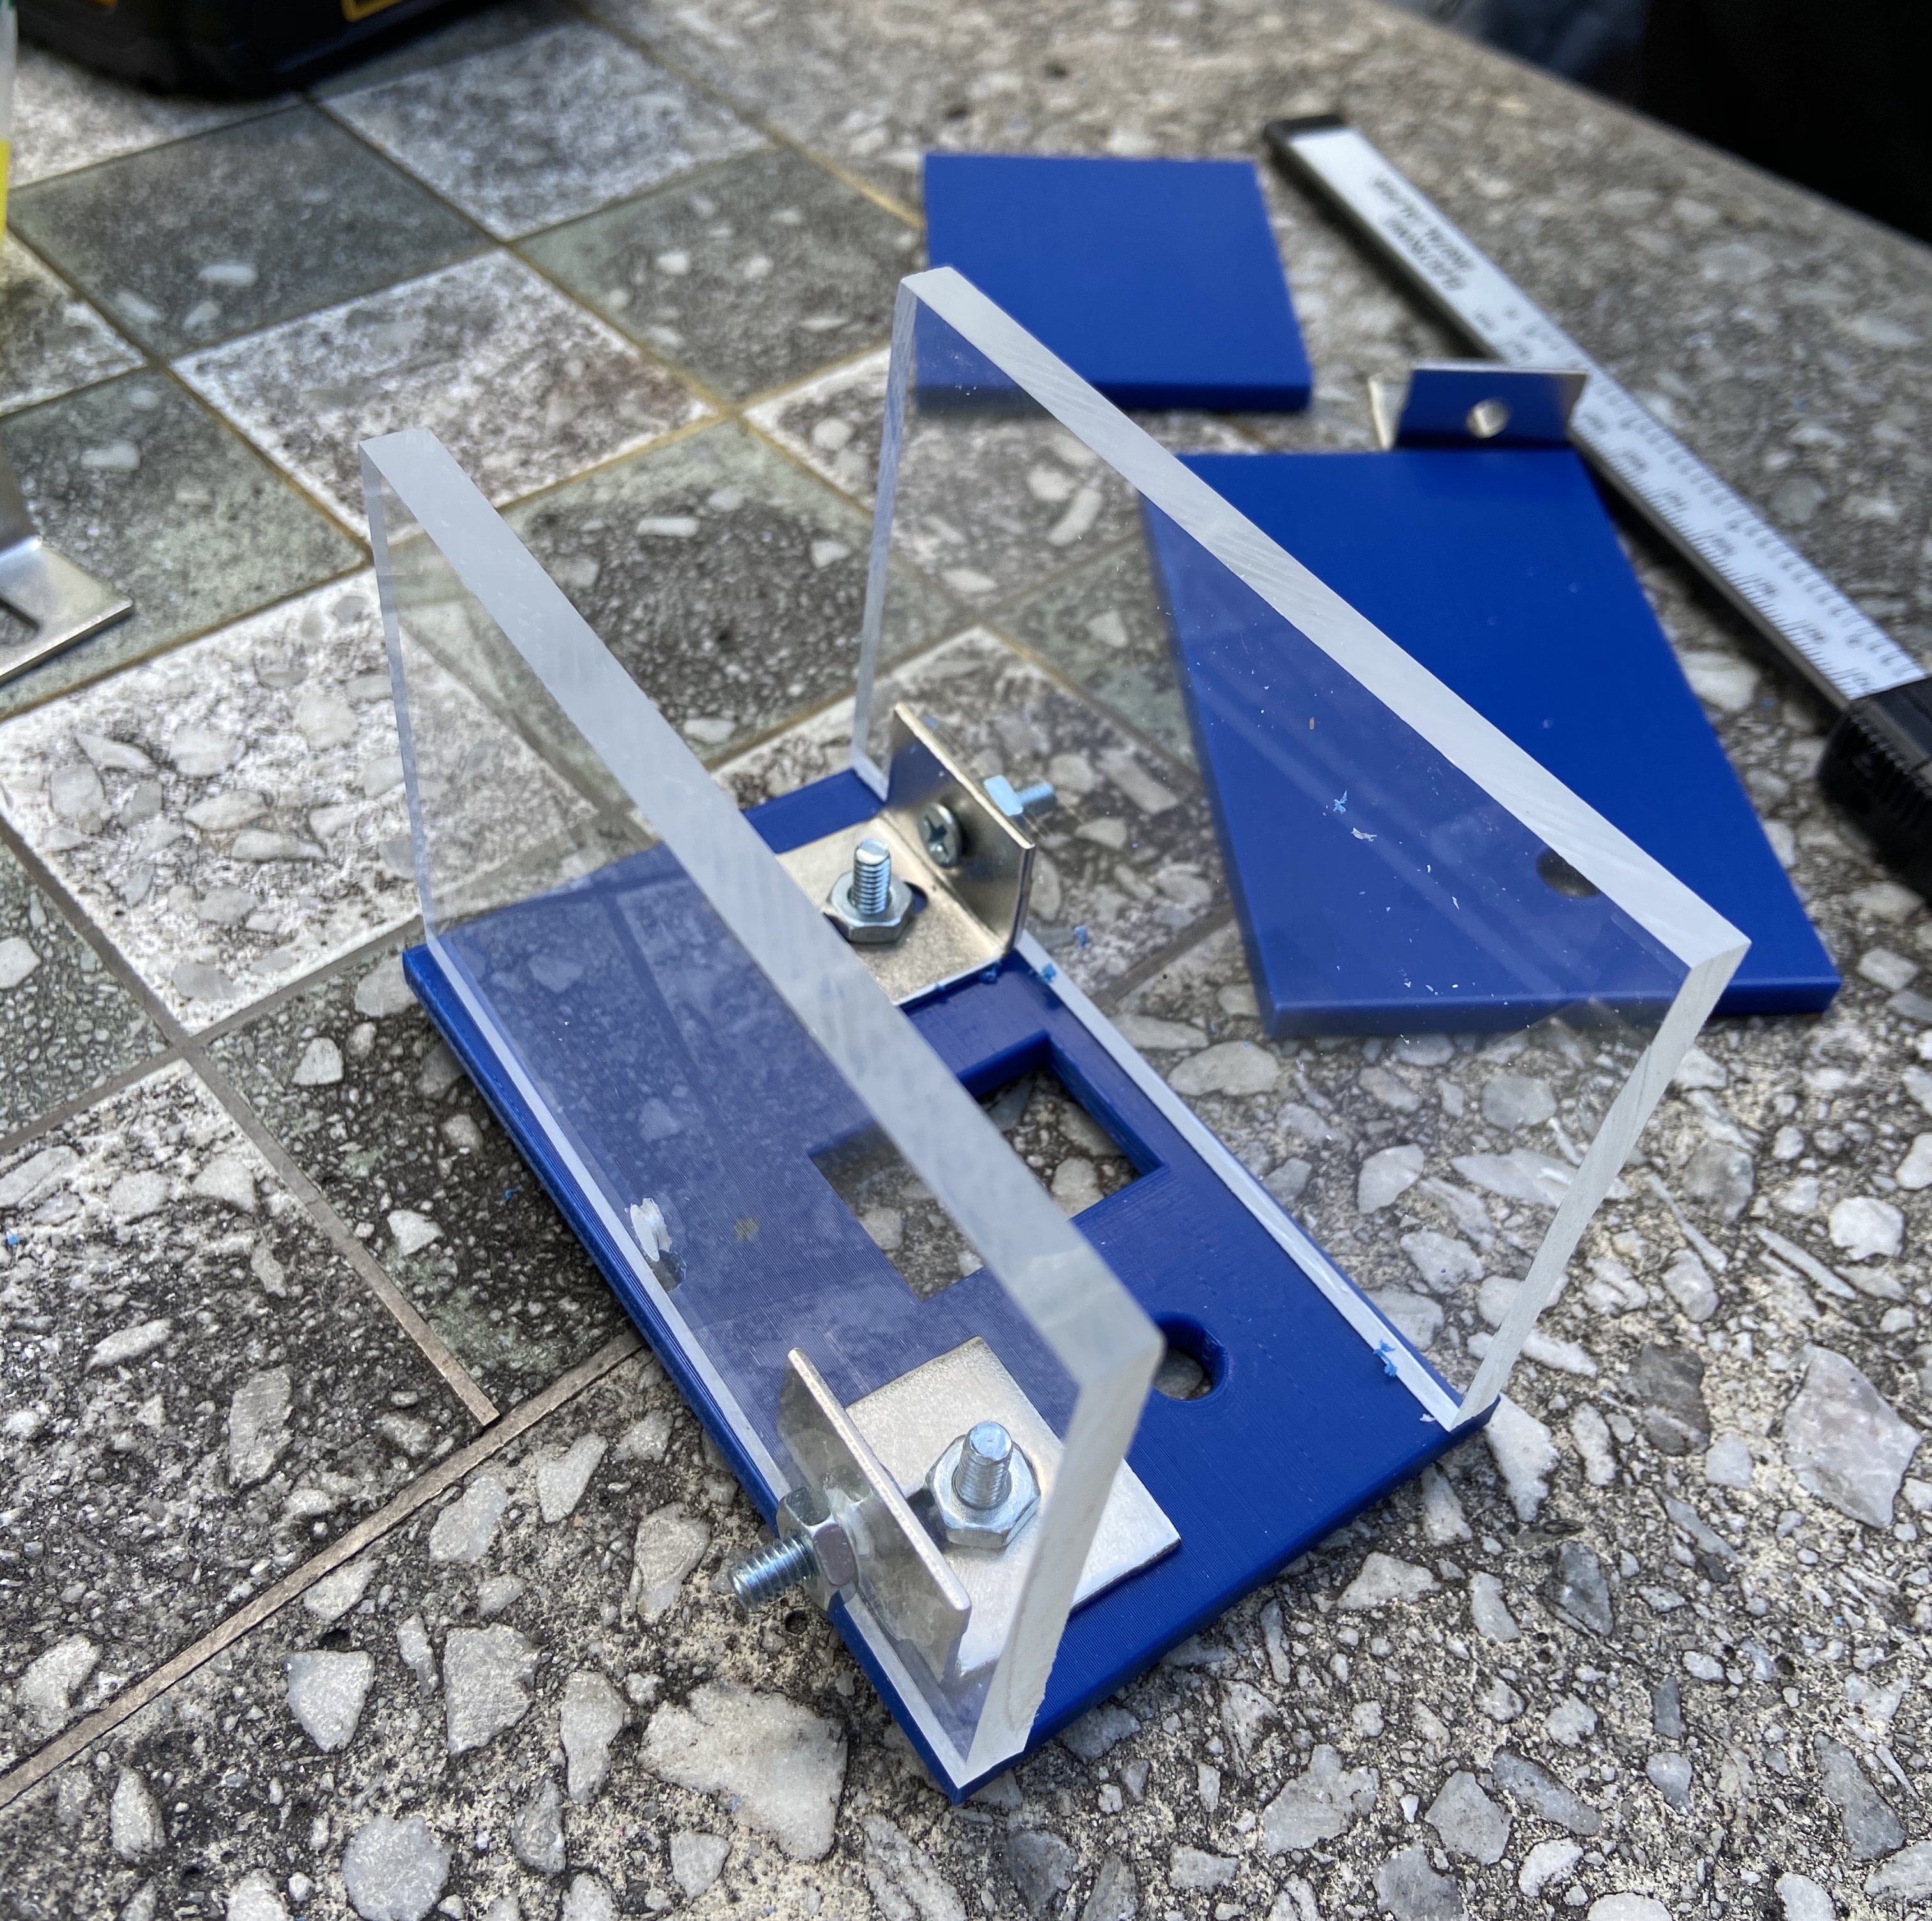
The front and back acrylic panels are installed.
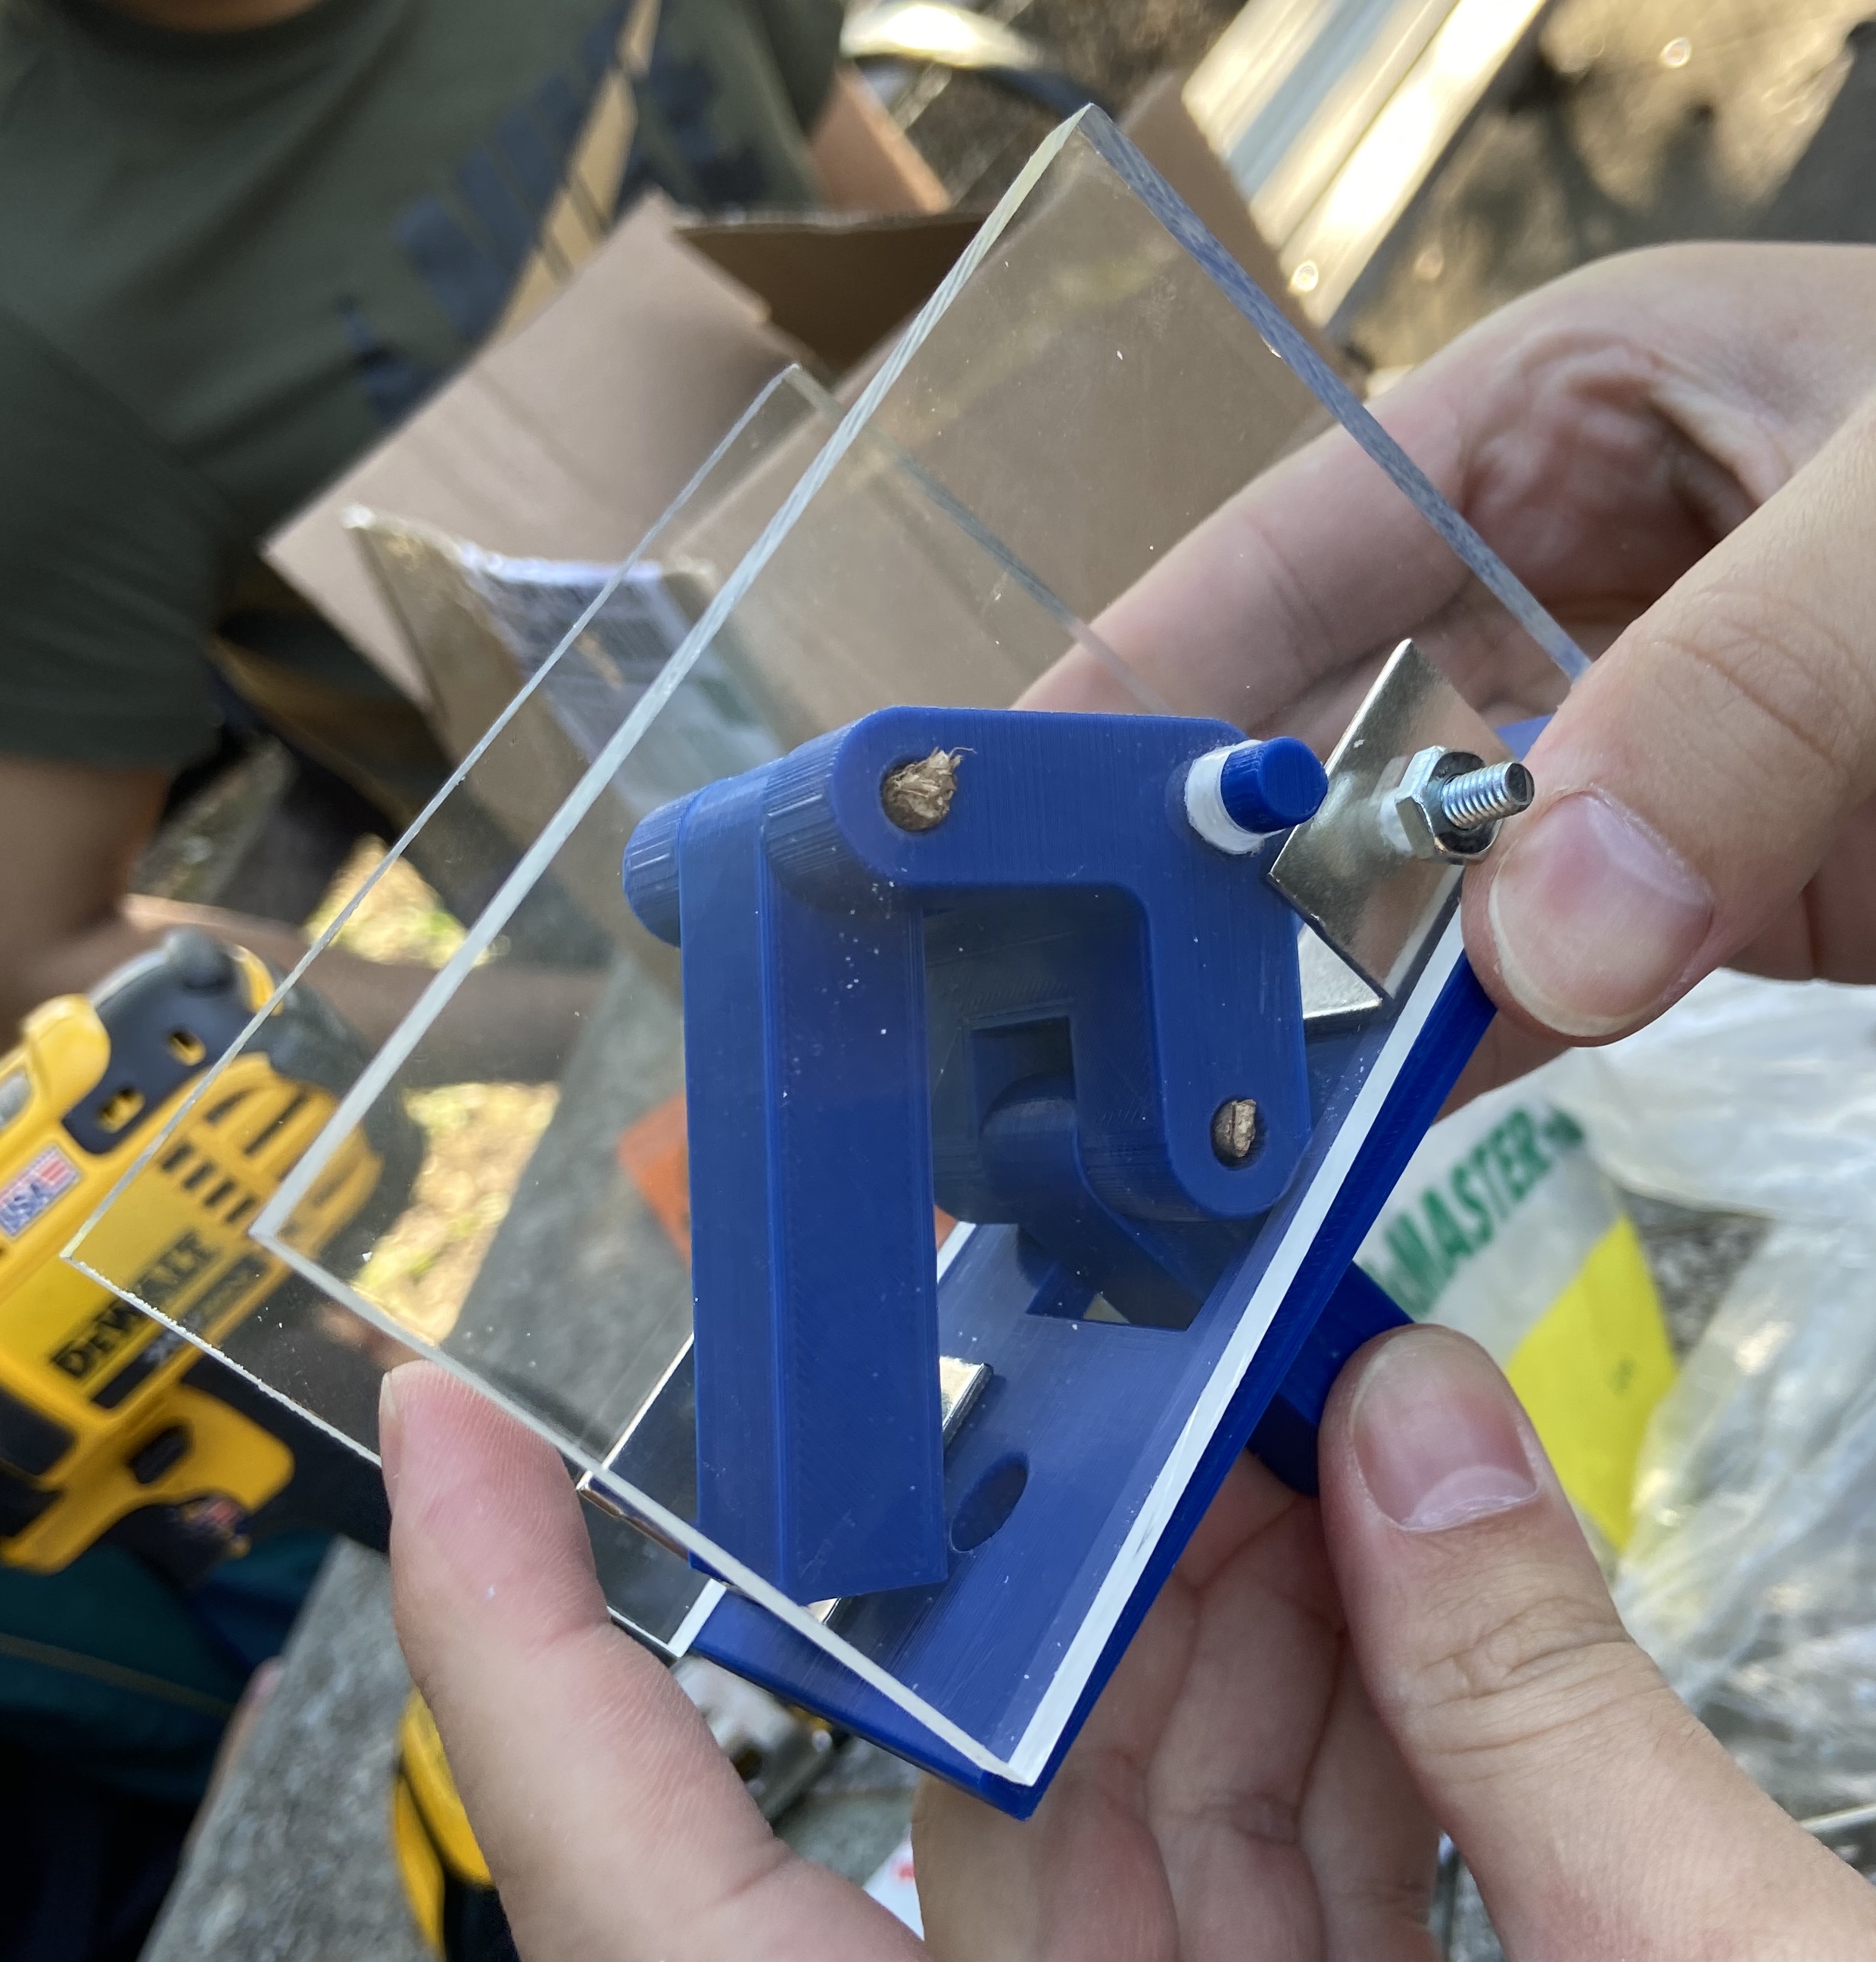
The lever and arms are inserted.
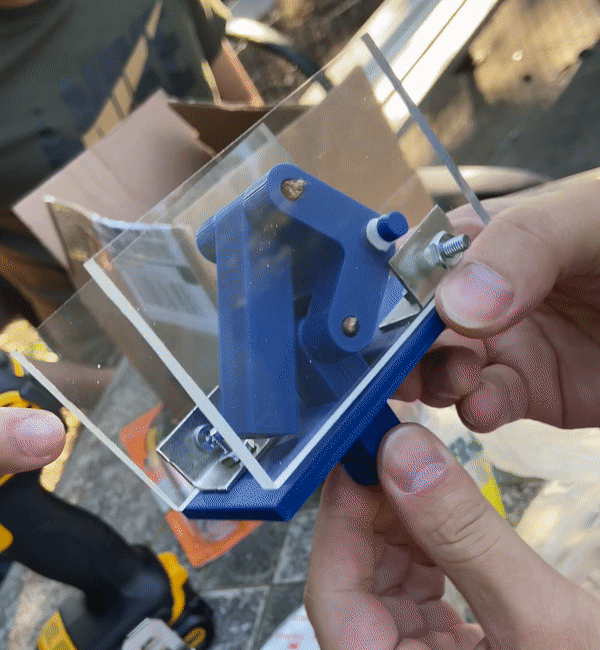
The arm and lever moves as expected!